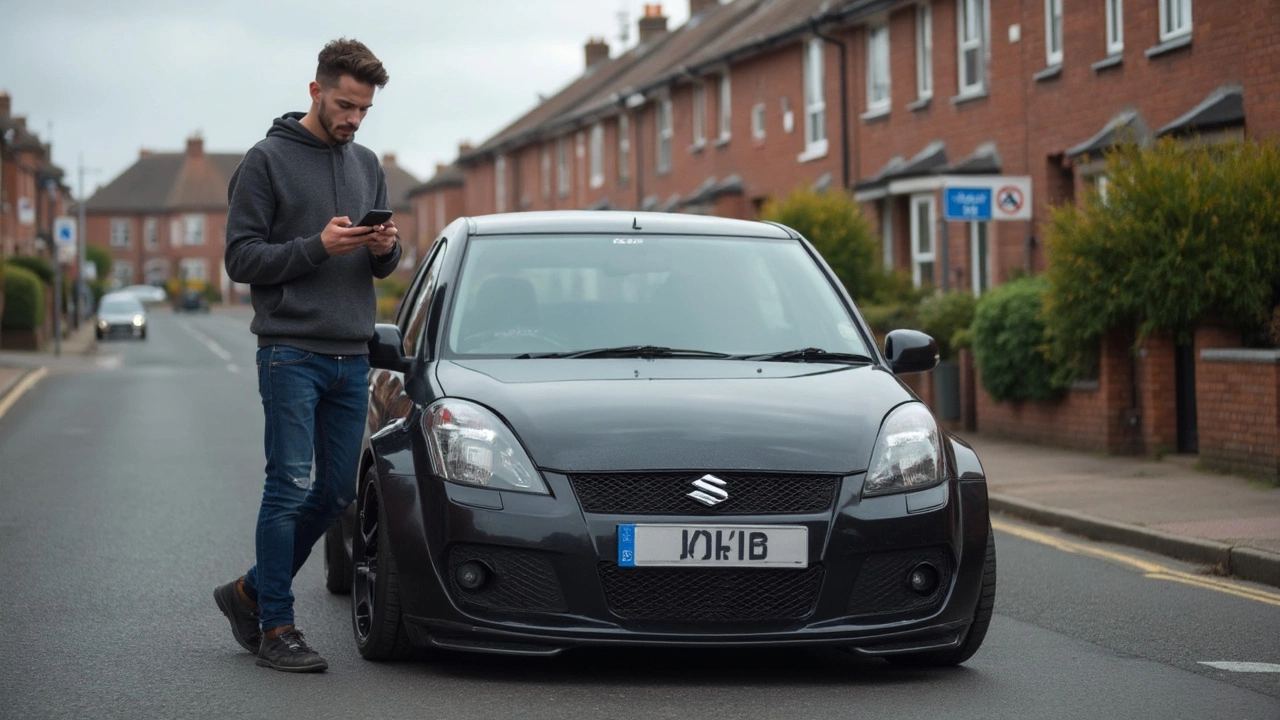
Car Body Kit: Style, Fit & Install Tips
Thinking about giving your car a fresh look? A body kit can turn an ordinary sedan into a head‑turner without a full paint job. It’s basically a set of front bumpers, side skirts, rear diffusers and sometimes a spoiler that snap onto the stock panels. The result is a sharper silhouette, better aerodynamics, and a dash of personality.
Why Add a Body Kit?
First off, a body kit is a visual upgrade. It adds lines, angles and a custom vibe that factory parts often lack. Many kits are made from lightweight fiberglass or ABS plastic, so you don’t add a lot of weight. That can help with fuel economy and handling, especially if the kit includes a rear diffuser that smooths airflow. Besides looks, some owners report reduced drag and a cooler engine bay, but the biggest win is the wow factor when you pull into a parking lot.
Cost is another big factor. You can find entry‑level kits for under £200, while high‑end carbon‑fiber sets can run into thousands. Decide early how much you want to spend, because that will guide material choice and whether you need a professional install or can tackle it yourself.
Installation Time and What to Expect
Most people ask, "How long does it take to fit a body kit?" The answer depends on the kit’s complexity, the car model, and your experience level. A simple bolt‑on front bumper and side skirts on a hatchback can be done in 2–3 hours with basic tools. Full‑suite kits that require cutting, drilling, and painting often need 6–8 hours or more.
If you’re a DIY enthusiast, gather the right tools first: a drill, torque wrench, screwdriver set, masking tape and a paint‑spray if you plan to touch‑up. Follow the manufacturer’s step‑by‑step guide – they usually include template outlines to mark where to drill. Double‑check bolt lengths and use thread‑locking compound to avoid vibrations loosening the hardware later.
For many, the safest route is to have a professional shop do the heavy lifting. They have lift equipment, alignment tools and paint booths, which can shave off a day of work and ensure everything lines up perfectly. The trade‑off is higher labor cost, but you’ll avoid headaches like mis‑aligned panels or water leaks.
Before you start, inspect the stock panels for rust or damage. Fix any issues first; a body kit won’t hide structural problems. Also, think about the legal side – some regions have rules about bumper height and spoiler size. A quick check with local authorities can save you from tickets down the road.
After installation, give the kit a short test drive. Listen for rattles, check that the front grille aligns with the headlights, and make sure there’s no rubbing on the tires when you turn sharply. Tighten any bolts that feel loose and re‑check after the first 50‑mile run.
Finally, keep the kit clean. Use a mild car shampoo and avoid harsh chemicals that can degrade plastic or fade paint. A quick wax on the surfaces will add a protective layer and keep the kit looking fresh for years.
In short, a car body kit is a cost‑effective way to upgrade style, improve aerodynamics, and express personality. Plan your budget, choose the right material, decide if you’ll DIY or go pro, and follow these practical steps for a smooth install. Your car will thank you with looks that turn heads every time you hit the road.

Car Body Kit and Insurance: What You Need to Know
Curious if a car body kit messes with your insurance? This article breaks down how insurers view body mods, why your premiums might change, and what you need to watch out for when adding a kit. Learn why skipping that quick phone call to your insurer could cost you big time. Get practical tips on staying covered and out of trouble. Find out how to make body kits work for your style—without wrecking your wallet.