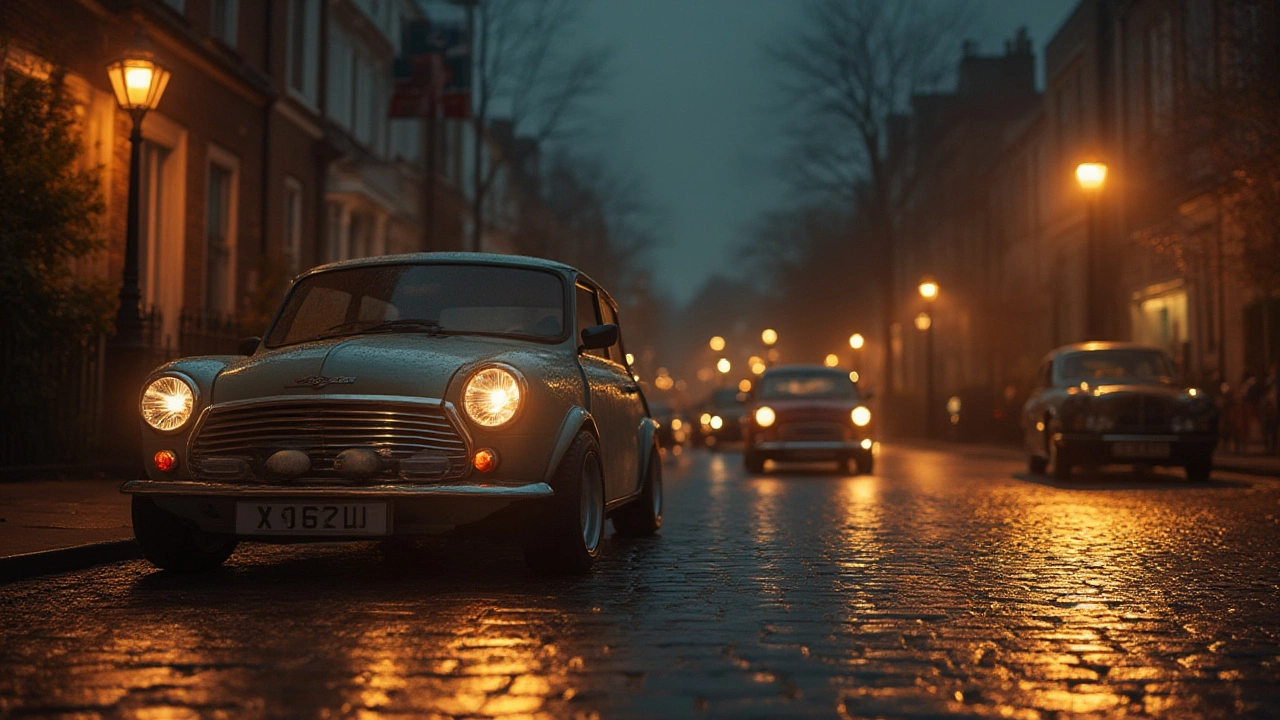
Headlight Upgrade: Brighten Your Ride Today
Ever felt like you’re squinting at the road after dark? A simple headlight upgrade can turn that frustration into clear, confident driving. You don’t need a garage full of tools or a huge budget—just a few minutes, the right parts, and a bit of know‑how.
First, figure out what you want out of the upgrade. Is it more light on the road, a cooler look, or both? Modern LEDs give a crisp, white beam that spreads wide, while HID (xenon) units push a bluish punch that reaches farther. If you’re happy with the stock look but want a brighter output, swapping the bulb inside the existing housing may be all you need.
LED vs HID: Which Is Right For You?
LED headlamps are the go‑to for most drivers. They’re cheap, plug‑and‑play, and stay cool, so you won’t risk melting the housing. A 30‑watt LED can give you 2‑3 times the lumens of a halogen bulb, and the color temperature sits around 6000K—close to daylight.
HID kits promise even farther reach. They use a high‑voltage arc to ignite a gas, producing a bright, bluish‑white light (often 4300K‑6000K). The trade‑off is higher cost, a need for ballast, and a bit more heat. Some local laws restrict overly bright or colored headlights, so double‑check your state rules before you buy.
Bottom line: If you want easy install and reliable performance, grab a quality LED kit. If you chase maximum range and don’t mind extra wiring, HID can work—just be sure the kit includes a proper ballast and complies with local regulations.
DIY Installation Tips and Safety Checks
Most headlight upgrades are designed for DIY. Here’s a quick checklist to keep things smooth:
- Read the manual. Even a 30‑second read can save you from wiring errors.
- Disconnect the battery. A quick 10‑second pull prevents accidental shorts.
- Measure the housing. Make sure the new bulb or LED module fits the old housing without forcing.
- Align the beam. After install, use a wall or garage door to set the low‑beam pattern. Too high and you blind oncoming drivers; too low and you miss obstacles.
- Test both sides. Switch on the lights before you finish. If one side flickers, re‑seat the connection.
Cleaning the lenses before you install new lights is a hidden win. Dust and oxidation can cut up to 30% of light output, so a quick wipe with a mild glass cleaner restores clarity.
Once everything’s snug, reconnect the battery and give the lights a test drive. Notice how the road looks at different speeds and adjust the aim if needed. Most people feel a noticeable increase in visibility within the first few minutes.
Remember, a brighter headlight isn’t just about style—it’s a safety upgrade. Better illumination means you see hazards sooner, and other drivers see you clearer. With the right kit and a careful install, you’ll enjoy a safer, sharper‑looking ride every night.

LED Bulbs in Old Headlights: Pros, Cons, and Expert Tips
Thinking about swapping halogen bulbs for LEDs in your classic headlights? Learn the benefits, common pitfalls, road legality, and expert tips for the best upgrade.