Installation Time: How Long Common Car Mods Really Take
Ever wonder how many hours a new exhaust, a set of wheel spacers, or a fresh set of headlights will actually eat up? You’re not alone. Most of us want the upgrade fast, but we also don’t want to ruin anything by rushing. Below you’ll find the real‑world time frames most people see, plus a few tricks to keep the clock from ticking too loudly.
Typical Times for Popular Mods
Custom exhaust installation – Most DIYers finish the job in 3‑5 hours. A professional shop can turn it around in 1‑2 hours, but that includes their prep and cleanup. The biggest time sink is removing the old pipe and making sure the new bends line up correctly.
Wheel spacers – If you’re only doing two wheels, set aside about 1‑2 hours. Doing all four pushes the time to 3‑4 hours because you have to double‑check torque specs on each corner. The trick is to use hub‑centric spacers; they fit tighter and need less fiddling.
LED bulb swap in older headlights – Expect 30‑45 minutes per side. The main delay is getting the old bulb out without breaking the housing. A quick photo of the wiring before you start saves a lot of guesswork.
Window tint application – Professional shops usually need 2‑3 hours for a full car, while a careful DIY can stretch to 5‑6 hours. The extra time comes from cleaning every glass surface and smoothing out bubbles.
Lowering springs installation – Most shops need 2‑3 hours per axle. If you’re doing it yourself, plan for at least 4‑5 hours because you’ll have to lift the car, compress the springs safely, and re‑torque the bolts.
Tips to Reduce Installation Time
1. Prep all tools beforehand. Grab the needed sockets, torque wrench, and any specialty bits before you start. A missing 13 mm socket mid‑job adds at least 10 minutes of frustration.
2. Read the manual. Even a 2‑page guide can show you a hidden screw or a recommended order that prevents back‑tracking.
3. Label connectors. Snap a quick piece of masking tape on each wire before you unplug it. When it’s time to plug back in, you won’t be guessing which goes where.
4. Use a lift or sturdy jack stands. Raising the car safely lets you work with both hands free, cutting the time you’d otherwise spend crawling under the chassis.
5. Don’t rush the torque. Grab a torque wrench, set the correct spec, and tighten in a criss‑cross pattern. It may feel slower, but it prevents you from having to redo a bolt later.
6. Have a helper. Even a quick second set of eyes can hold a component in place while you tighten, shaving off a few minutes per fastener.
7. Clean the area. A dusty surface makes it harder to spot bolts and can lead to stripped threads. A quick wipe with a lint‑free cloth before you start saves rework.
By matching the expected time frames with these simple shortcuts, you’ll get a clearer picture of how long each mod should take and avoid the common pitfalls that stretch a simple job into an all‑day affair.
Remember, the goal isn’t just speed—it’s a clean, safe install that lasts. Use the times above as a baseline, add a little extra for learning curves, and you’ll be back on the road with your upgrade in no time.
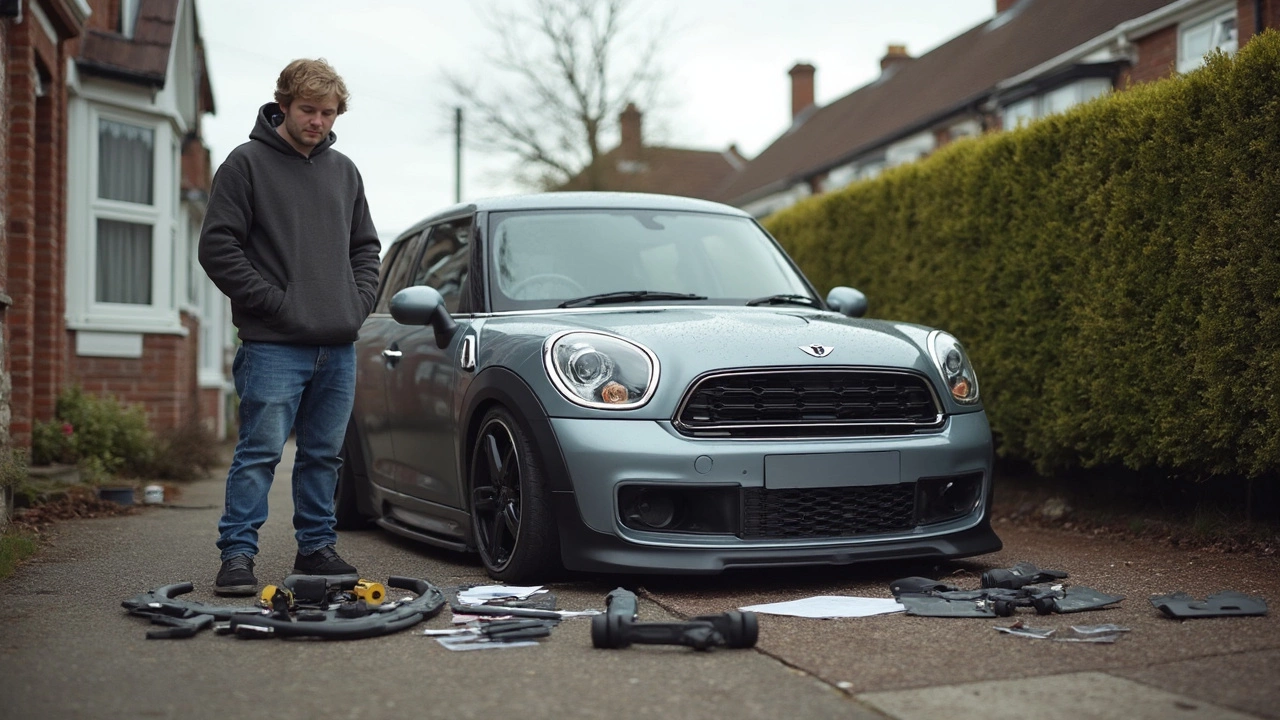
How Long Does It Take to Fit a Body Kit?
Wondering how long it really takes to fit a body kit? This article breaks down the time factors for different styles and car models, explains what can speed up or slow down your installation, and throws in some tips so you don’t run into common surprises. Whether you’re hitting the driveway yourself or dropping your car off at a shop, you’ll get a realistic feel for what to expect. If you’re thinking about that fresh new look, this is all you need to know before you start tearing off panels.