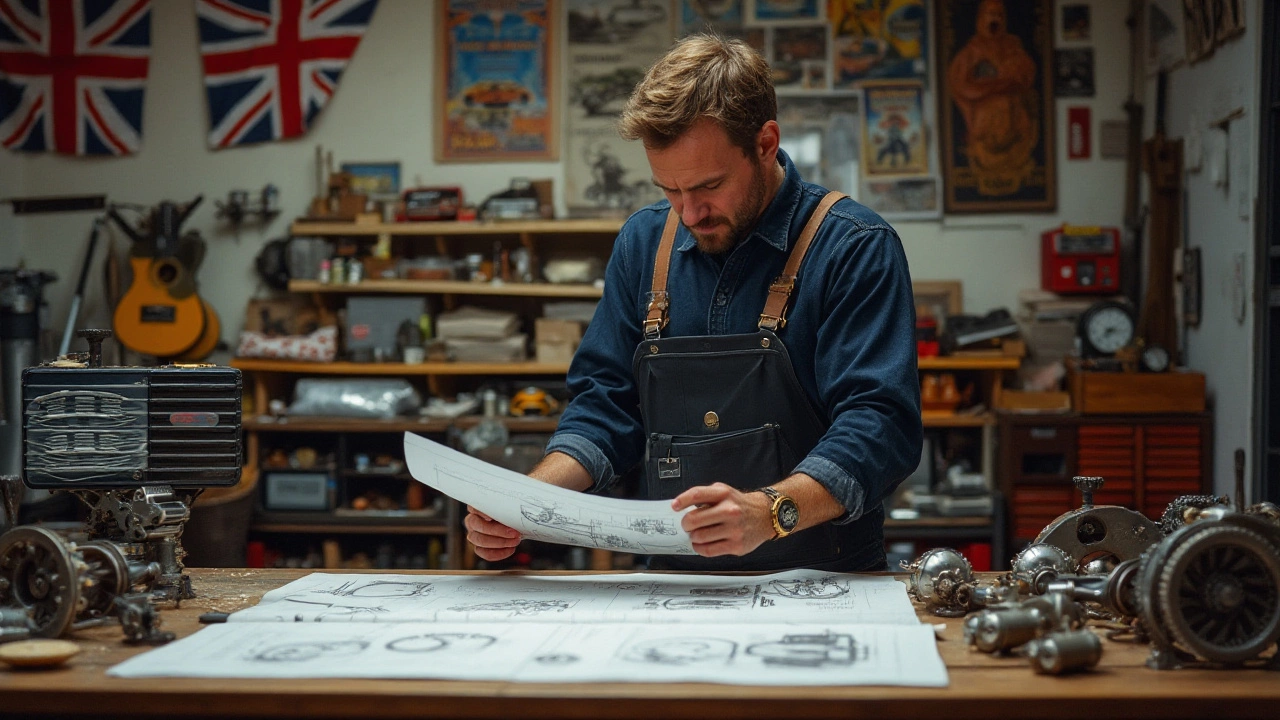
Kit Car Assembly: How to Build Your Dream Car
Thinking about putting together a kit car? You’re not alone. More people want a unique ride without the showroom price, and a kit gives you that freedom. The good news? The process isn’t as scary as it looks when you break it down into clear steps.
First off, pick a kit that matches your skill level. Beginners should go for a chassis that comes pre‑welded and a body that snaps together. If you love welding, a full‑frame kit gives you more room to customize. Whatever you choose, read the manual – it’s the blueprint for every bolt.
Essential Tools & Prep
You don’t need a professional garage, but a solid toolset saves time and headaches. Grab a set of metric sockets, a torque wrench, a cordless drill, and a quality impact driver. A good set of clamps, a rubber mallet, and a straight edge will help you line things up straight.
Before any metal touches, clear a flat workspace. A garage floor or a clean concrete slab works best. Lay down a drop cloth to protect parts and keep nuts and bolts from rolling away. Organize fasteners in labeled trays – you’ll thank yourself when you’re halfway through and can’t find that tiny 10 mm bolt.
Safety first: wear gloves, safety glasses, and a dust mask when cutting or sanding. A good pair of earplugs helps when you’re using power tools for long periods.
Step‑by‑Step Build Process
1. Frame assembly. Start with the chassis. Follow the kit’s diagram and bolt the main sections together. Use the torque wrench to tighten to the spec – overtightening can warp the frame, undertightening leaves it loose.
2. Suspension mounting. Attach the front and rear suspension components next. Double‑check alignment marks; a misaligned suspension leads to uneven tire wear and poor handling. If the kit includes adjustable arms, set them to the neutral position before tightening.
3. Engine and drivetrain. Position the engine according to the mount holes. Many kits use a sub‑frame that slides into place, making the job easier. Connect the transmission, driveshaft, and exhaust, then seal all gaskets. A quick leak test with a pressure gauge can catch problems early.
4. Wiring and plumbing. Run the main harnesses before you bolt the body panels. Keep wires away from hot exhaust parts and secure them with zip ties. Install fuel lines, brake lines, and cooling hoses, then bleed the system to remove air bubbles.
5. Body fitting. With the chassis ready, start aligning the body panels. Use the straight edge to make sure doors, hoods, and trunks line up. Small shims can fix gaps; don’t force panels into place – let the kit’s design guide you.
6. Interior and trim. Mount seats, dashboard, and steering column. Connect the electrical plugs for lights, gauges, and speakers. This is where the car starts to feel like yours.
7. Final checks. Walk the car, tighten any loose bolts, and verify that the steering is centered. Pop the hood and check fluid levels. Take the car for a short test drive – listen for unusual noises and watch for vibration.
After the first drive, revisit the torque specs. Heat can expand bolts, so a quick re‑torque after a few hundred miles is smart. Keep a log of any adjustments for future reference.
Building a kit car is a mix of patience, paperwork, and hands‑on work. The payoff? A vehicle that reflects your style, a deeper understanding of how cars work, and the bragging rights that come with saying, “I built this.”
If you’re stuck, the community forums for each kit brand are gold mines for advice. Most builders share tips, photos, and troubleshooting tricks that can save you hours.
Ready to start? Grab your kit, set up your space, and take it one bolt at a time. You’ve got this!

Understanding the Time Investment for Building a Kit Car
Building a kit car is both an exciting and intricate venture, requiring significant time to complete depending on the complexity and the builder's experience. Factors such as the type of kit, personal skills, available tools, and dedication influence the overall duration. From mere months to a couple of years, each stage, from planning to assembly, plays a critical role in the project timeline. Embracing patience and learning along the way enhances the rewarding experience of creating a custom vehicle.