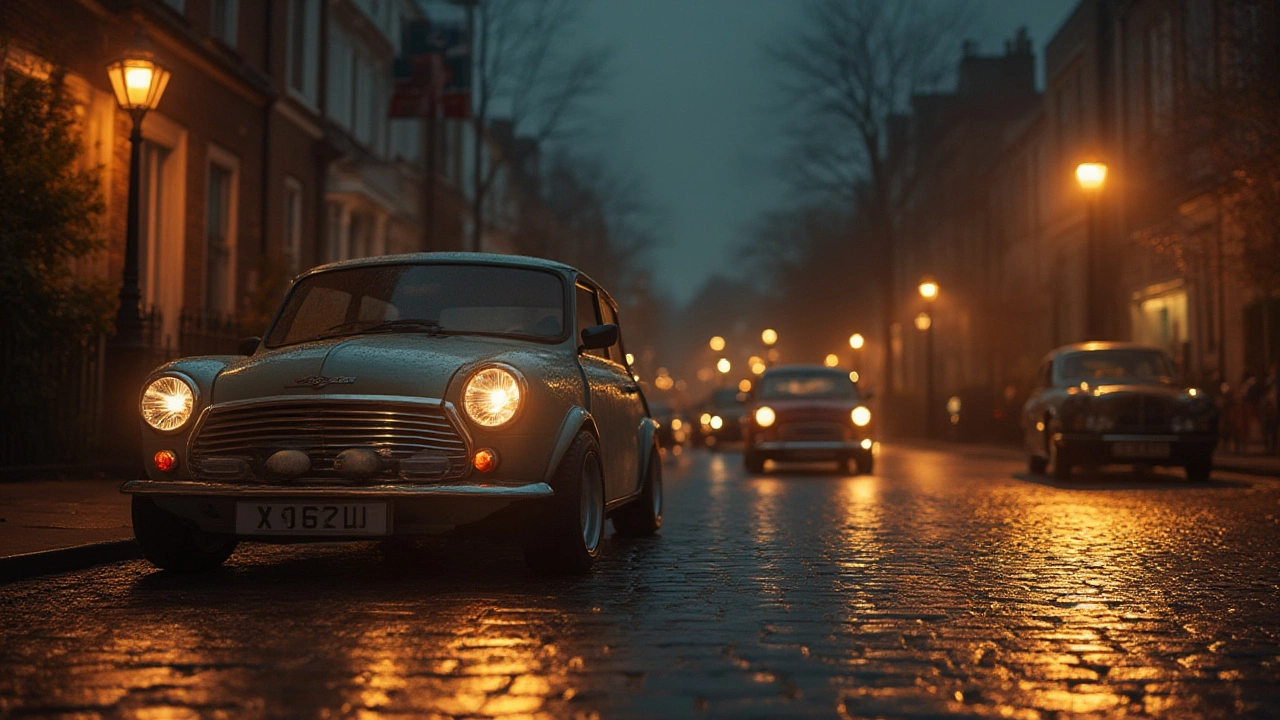
LED Conversion Guide: Upgrade Your Car Lights Quickly
Thinking about swapping your stock bulbs for LEDs? You’re not alone. LEDs are brighter, use less power, and look sleek. The good news is the swap is usually a weekend project that doesn’t need a garage full of tools.
What You Need Before You Start
First, grab a few basics: LED bulbs that match your car’s make and model, a small screwdriver set, and a clean cloth. Some cars need a can‑bus adapter to stop the dashboard from showing a “bulb out” warning, so check your owner’s forum for the exact part. If you’re unsure, a quick search for “LED adapter for [your car]” will point you to the right product.
Make sure the bulbs you buy are rated for the same wattage as the original ones. Using a higher wattage LED can overheat the housing and cause damage. Most reputable brands list a “compatible wattage” on the package – stick to that.
Step‑by‑Step Installation
1. Turn off the lights and disconnect the battery. This prevents any accidental short‑circuits.
2. Remove the old bulb. Most headlights have a plastic cover that pops off with a gentle twist. Pull the bulb straight out; some may have a clip you need to press.
3. Test the LED bulb. Before you bolt anything back, plug the new LED into the socket and turn the lights on (you can reconnect the battery just for a quick check). If it lights up, you’re good to go.
4. Install the bulb permanently. Push the LED in until it clicks. If your car uses a can‑bus system, now’s the time to snap in the adapter. It usually slides into the same socket, then the LED goes on top.
5. Secure the housing. Snap the plastic cover back on and make sure everything is tight. Loose covers can cause moisture to get in, which shortens bulb life.
6. Final check. Turn on all the lights—low beam, high beam, parking, and turn signals. Look for even illumination and make sure no warning lights appear on the dash.
If anything looks odd, double‑check the bulb orientation. Some LEDs are direction‑sensitive; rotating them 180° can fix uneven lighting.
That’s it. Most DIYers finish in 20‑30 minutes per headlight. The result? Brighter light that makes night driving safer and gives your car a modern look.
Want extra durability? Toss a tiny dab of silicone sealant around the bulb base. It keeps water out without affecting heat dissipation. Just don’t over‑apply – a thin ring is enough.
Finally, keep the original bulbs safe. If you ever need to sell the car or revert to stock, you’ll have the right parts ready.
LED conversion is a simple upgrade that pays off in visibility and style. With the right bulbs, a bit of patience, and a few cheap tools, you can transform your ride in a single afternoon.

LED Bulbs in Old Headlights: Pros, Cons, and Expert Tips
Thinking about swapping halogen bulbs for LEDs in your classic headlights? Learn the benefits, common pitfalls, road legality, and expert tips for the best upgrade.