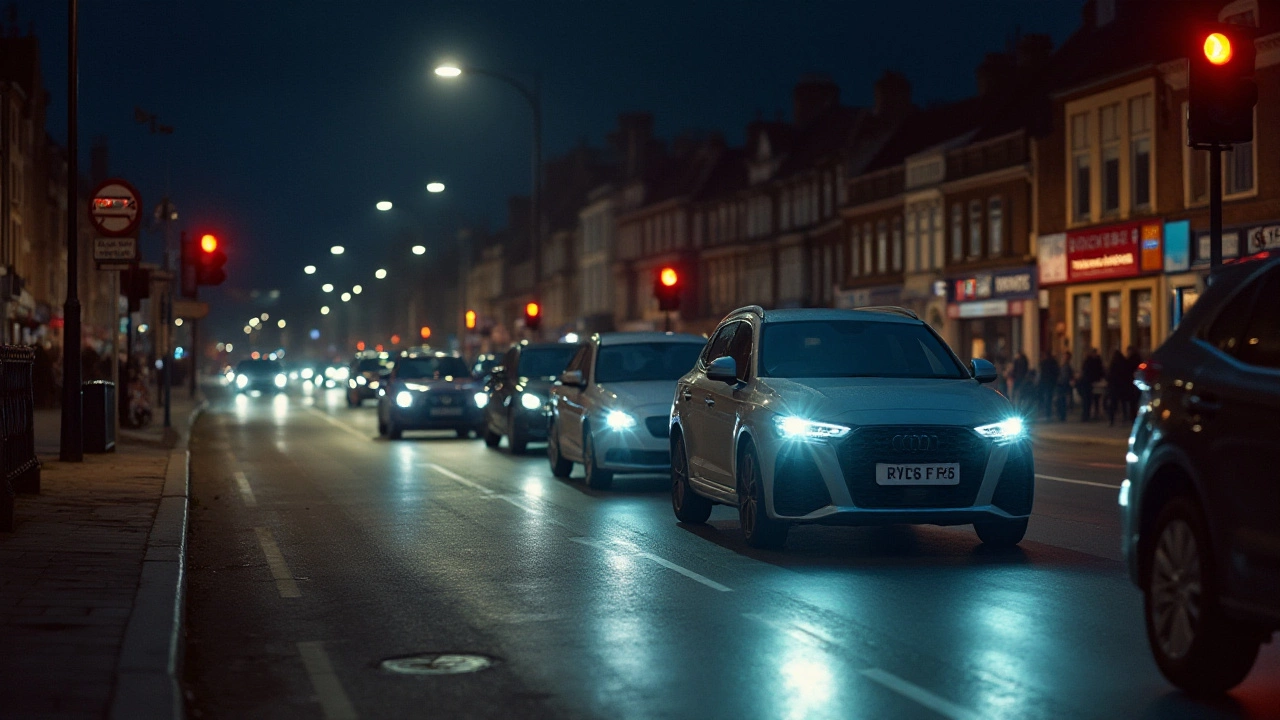
Lighting Issues: Common Car Light Problems and Simple Fixes
Ever been stuck at a red light and realized your low beam is dim or flickering? Bad lighting isn’t just an eyesore – it can be unsafe and pricey if you ignore it. The good news? Most headlight hiccups have a quick, low‑cost fix. Below we break down why lights fail and how a LED swap can give your old headlights a modern boost.
Why Your Headlights Might Dim or Flicker
Headlights are exposed to heat, vibration, and the occasional road bump. Over time the bulb’s filament weakens, the connector corrodes, or the wiring gets loose. A common sign is a dimmer low beam on one side while the other stays bright. That usually means a bad bulb or a loose ground strap. Check the bulb first – twist it out, look for dark spots on the glass, and replace it if needed.
If the new bulb is still weak, inspect the wiring harness. Look for frayed wires or corrosion at the plug. Cleaning the contacts with a little electrical cleaner and tightening the clip often restores full brightness. Finally, make sure the headlight housing isn’t dirty. Dirt and wax can act like a filter, reducing light output. A quick wash with mild soap and a soft cloth can make a noticeable difference.
LED Bulb Swap – Pros, Cons, and How‑to
LEDs are the go‑to upgrade for anyone wanting brighter light and lower power draw. They light up faster, stay cool, and usually last much longer than halogens. However, swapping LEDs into older housings isn’t always plug‑and‑play. Some cars need a CAN‑bus decoder to stop the “bulb out” warning from flashing on the dash.
Here’s a step‑by‑step on how to replace halogen bulbs with LED ones:
1. Choose the right LED kit. Look for the bulb size (H7, H11, etc.) that matches your car’s stock bulb. Make sure the kit includes a CAN‑bus adaptor if your vehicle has a smart lighting system.
2. Remove the old bulb. Open the hood, locate the back of the headlight housing, and twist the bulb counter‑clockwise. Pull it out gently – no need for excessive force.
3. Clean the socket. Use a clean rag to wipe away any dust or corrosion. A clean surface ensures a solid connection for the LED.
4. Install the LED. Align the pins, push the LED in, and turn it clockwise until it clicks. If you have a CAN‑bus adaptor, plug it into the socket first, then attach the LED.
5. Test the light. Turn on the headlights. If everything’s bright and the warning light stays off, you’re done. If the dash still flashes, double‑check the adaptor or try a different LED model that’s compatible with your car’s voltage.
Keep in mind that LED bulbs can produce a sharper light pattern. If the beam looks too bright or blinds oncoming drivers, adjust the headlight aim using the adjustment screws on the housing. A quick 5‑minute tweak can keep you legal and safe.
When done right, LEDs give you a crisp white beam that cuts through rain and fog better than old halogens. Plus, you’ll notice less heat around the headlight, which helps the housing’s plastic stay clear longer.
Got more lighting quirks? Check our other articles for tips on fog lights, interior lighting upgrades, and how to diagnose electrical gremlins that cause random light failures. Fixing lighting issues is usually a matter of a few minutes, a little patience, and the right parts – no need to book a pricey shop visit.

Common Issues with LED Headlights: Solving Their Puzzling Problems
LED headlights have become a popular choice for drivers due to their energy efficiency and long lifespan. However, they are not without problems. Common issues include flickering lights, electrical interference, and excessive brightness which can cause discomfort for other drivers. Despite these challenges, proper installation and understanding of LED characteristics can help mitigate many problems. This article explores these issues and provides insights to help drivers enjoy the benefits of LED headlights.