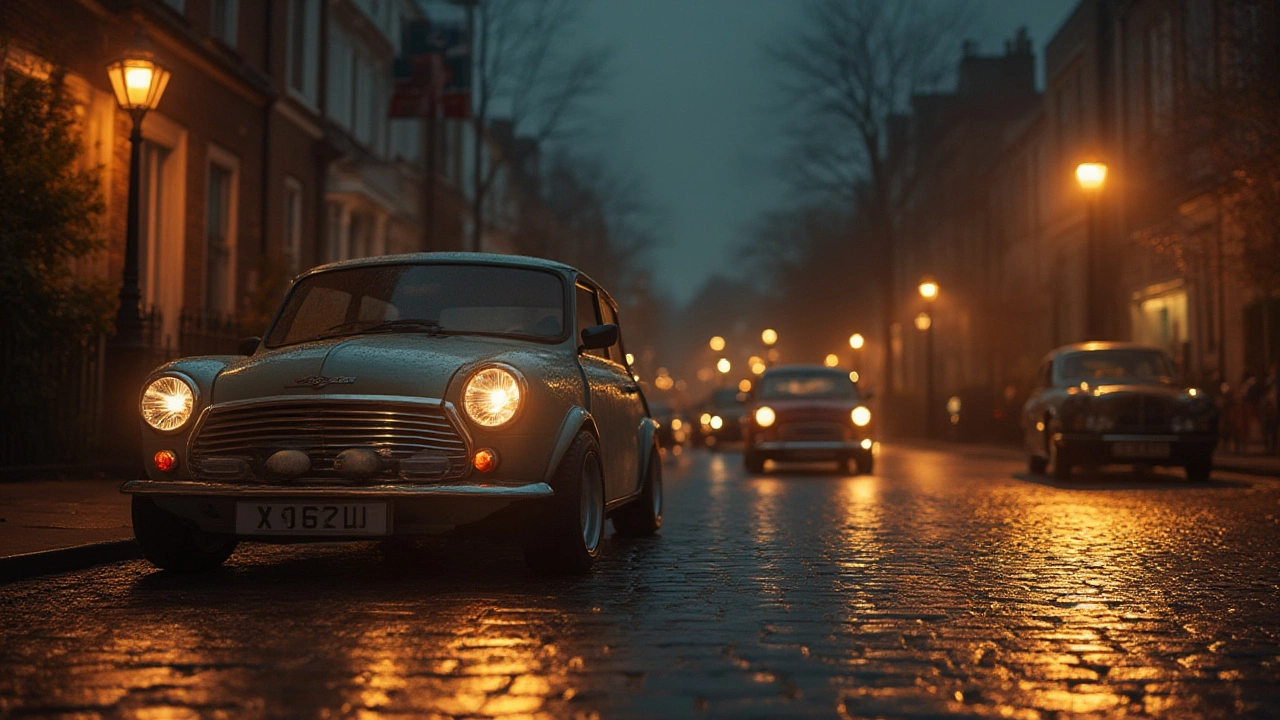
Old Headlights: How to Fix, Upgrade, and Keep Them Shining
Got a set of yellowed, hazy headlights that make your car look tired? You're not alone. Most drivers notice their lights dim after a few years of sun, rain, and road grime. The good news? You don’t have to spend a fortune on new parts. With a few simple steps you can bring back that crisp look, improve night‑time visibility, and even add a touch of style.
Why Old Headlights Lose Their Shine
Most modern headlights use polycarbonate lenses. They’re lighter than glass but they’re also prone to UV damage. Over time the sun’s UV rays break down the plastic, turning clear covers milky. Add everyday road grit, brake dust, and bug splatter, and the surface gets a permanent film. Heat from the bulb also contributes to yellowing, especially if you run high‑output bulbs that run hotter than stock units.
Another common culprit is a bad seal. If moisture sneaks in, it creates a foggy interior that looks like a permanent haze. Even a tiny crack can let water in, and the resulting condensation will leave stubborn water spots that won’t wipe away.
Step‑by‑Step Restoration and Upgrade Tips
1. Clean the surface. Start with soap and water to remove loose dirt. Then grab a microfiber cloth, a spray bottle of rubbing alcohol, and a gentle automotive plastic cleaner. Spray, wipe, and repeat until the lens feels smooth.
2. Sand if needed. For severe hazing, use a wet‑sanding kit (800, 1000, then 1500 grit) on a flat surface. Keep the lens wet and sand in a circular motion. Don’t press hard – you’re just leveling the surface, not carving it.
3. Polish for clarity. Apply a dedicated headlight polish or a mild toothpaste (yes, that works!). Use a low‑speed drill with a foam pad, or hand‑rub in small circles. Polish until the lens looks clear and you can see the reflector underneath.
4. Seal the finish. A UV‑resistant clear coat protects your hard work. Spray a thin coat, let it dry, then repeat once for a durable shield. This step is what keeps the lens from turning milky again next summer.
5. Consider a upgrade. If you’re already swapping lenses, why not upgrade the bulb? LED or HID upgrades give brighter, whiter light and usually last longer. Just check your local laws – some regions limit brightness or color temperature.
6. Replace when necessary. Not every headlight can be saved. Cracks, deep yellowing, or severe fog that pops up after a rainstorm usually mean the lens needs a replacement. Look for OEM‑approved kits that match your car’s make and model to avoid fit issues.
Pro tip: Keep a headlight restoration kit in your trunk. A quick touch‑up after a long road trip can prevent permanent damage and keep your car looking fresh.
In short, old headlights don’t have to stay dull. A bit of cleaning, sanding, polishing, and sealing can bring them back to life, while a smart bulb upgrade adds safety and style. Try the steps above before you order new parts – you’ll save cash and feel pretty good about doing it yourself.

LED Bulbs in Old Headlights: Pros, Cons, and Expert Tips
Thinking about swapping halogen bulbs for LEDs in your classic headlights? Learn the benefits, common pitfalls, road legality, and expert tips for the best upgrade.