Ever get that itch to bust out a car detailing kit, hoping to turn your ride into a showroom star? Hold up—there’s a lot more to the story than those shiny before-and-after photos online. Sure, detailing kits can work wonders, but they’re not all sunshine and rainbows. In fact, some pitfalls can leave your car worse off, or at least ding your wallet and eat up your Saturday.
Here’s the thing: even the best detailing products aren’t foolproof. Most people don’t realize that using the wrong type of sponge, over-polishing, or skipping a test spot for a new chemical can scratch up the paint or cause weird stains. Plus, some of those quick-fix sprays and sealants might offer a glossy look, but they can hide problems you’ll notice too late. So before you wipe down another fender, let’s look at what can actually go wrong—and how you can keep things from getting out of hand.
- The Hidden Costs Behind Detailing Kits
- When Detailing Goes Wrong: Common Car Damages
- Time Spent vs. Results Gained
- Environmental and Health Issues
- Tips to Dodge These Pitfalls
The Hidden Costs Behind Detailing Kits
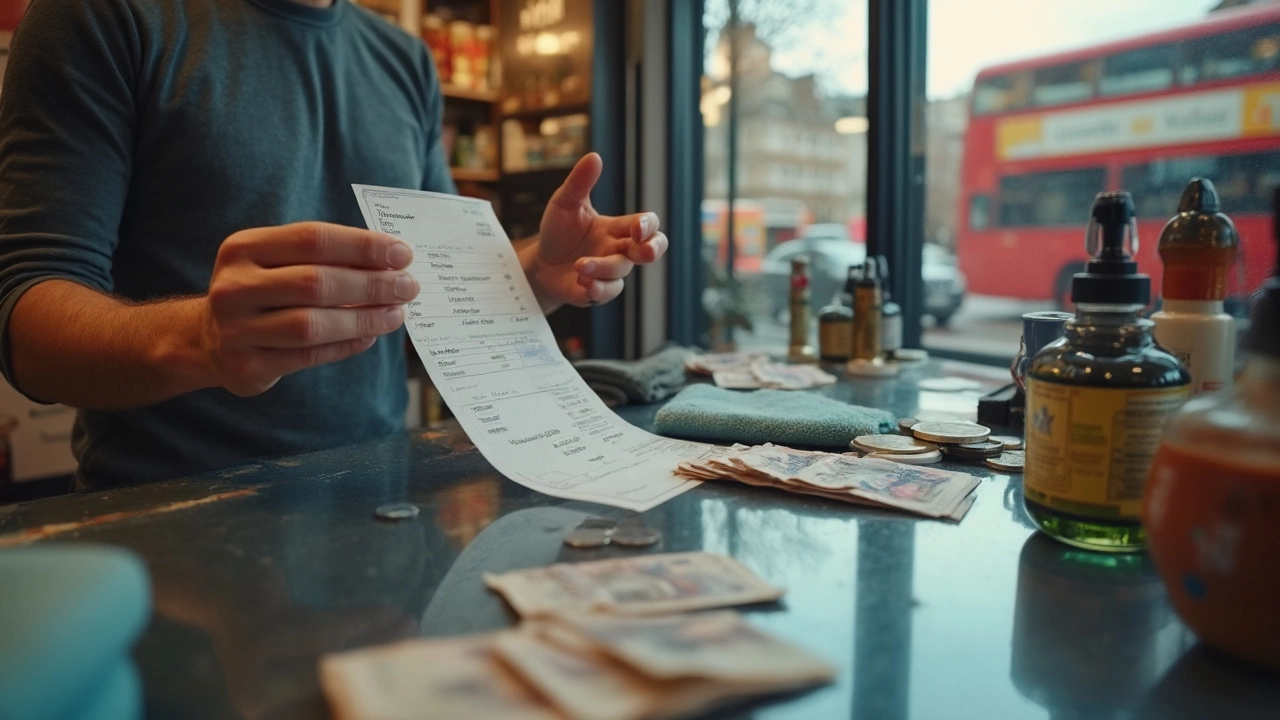
At first glance, a car detailing kit looks like a steal—everything in one box, promising pro-level results without the shop price. But once you get into it, the price tag starts to climb. First, many kits don’t include stuff you actually need, like high-quality microfiber towels or enough pads for a full job. So right out of the gate, you’re reaching for your wallet a second time.
Another thing to watch out for: cheaper kits can leave out key products completely, or swap in low-end versions of polish and wax. That means you could end up buying extra bottles just to cover what’s missing. And those specialty products? They wear out fast. Clay bars lose their grip, detailing brushes lose bristles, and replacement costs add up.
Don’t forget the tools. Kits rarely come with all the attachments you need for detailing tight areas like vents or rims—so many folks shell out even more for separate brushes or a mini vacuum. It all adds up way quicker than you’d think. Here’s a quick look at what you might end up spending:
| Item | Estimated Cost | Notes |
|---|---|---|
| Starter Detailing Kit | $40 – $100 | Basic supplies, usually partial sets |
| Additional Microfiber Towels | $15 – $30 | Need several for safe cleaning |
| Clay Bar or Mitt | $20 – $35 | Replaced every 2–4 details |
| Brush Set | $10 – $25 | For tight/interior spots |
| Refill Liquids (Wax, Soap, Sealant) | $20 – $50 | Every few jobs |
And time is money, too. If you’re working through a full detail on a weekend, a few wasted products or wrong purchases can double the time and frustration. Pro detailers buy in bigger batches, which keeps their costs lower per job, but DIYers rarely get that benefit. Next time you see a cheap kit, remember the hidden costs. Doing a headcount of what you’re getting—and what you’re missing—will save both cash and headaches down the road.
When Detailing Goes Wrong: Common Car Damages
Grabbing that new car detailing kit can feel awesome—right up until you spot a scratch you definitely didn’t see before. Stuff happens more often than you’d think. One big blunder is using dirty or rough towels. Grit trapped in microfiber or cheap sponges will scratch up clear coat fast. You’d be surprised how many people end up with swirl marks because they forgot to rinse their towels or used kitchen rags instead of proper detailing cloths.
Chemical confusion causes plenty of headaches, too. Mixing up products or trying a new polish without a test spot is risky. Some cleaning sprays and wheel cleaners are just way too harsh for certain surfaces. A good example: acid-based cleaners will chew through aluminum wheels or damage rubber seals if you’re not careful.
Waxing sounds simple, but too much is a problem. Apply heavy wax layers or use a buffer the wrong way, and you can burn the clear coat or leave stubborn white stains on black trim. That’s not the DIY trophy anyone wants.
- Paint scratches and swirl marks: Most common issue, especially with aggressive scrubbing or using the wrong cloth.
- Etching and staining: Letting bug remover or tar cleaner sit too long can leave etch marks or spots on paint.
- Trim fading or staining: Plastic and rubber trim picks up white stains if wax or polish bleeds onto them.
- Upholstery damage: Too much cleaner or ignoring product labels can fade or break down seat fabrics.
- Cracked leather: Using regular cleaners instead of leather-safe ones dries leather out and makes it crack faster.
Check out this quick table. It sums up what can go wrong and what usually causes the problem:
| Damage | Common Cause |
|---|---|
| Paint Swirls | Dirty towels, circular scrubbing |
| Trim Stains | Excess wax or polish on plastic |
| Wheel Corrosion | Wrong or harsh cleaner |
| Seat Fading | Harsh chemicals on fabric |
| Leather Cracks | Not using leather conditioner |
When in doubt, always check labels, go easy on pressure, and try products on a hidden spot first. That little bit of caution saves a lot of heartache—and a chunk of change on paint correction later.
Time Spent vs. Results Gained
If you’ve ever spent four hours hunched over your driveway with a detailing kit, you know the job isn’t a quick spray-and-wipe. The thing is, detailed cleaning takes time, and lots of it. Most people underestimate how many steps are involved. You’ve got washing, claying, polishing, waxing, and then the inside to deal with. No wonder some folks are left wondering if they got enough out of the effort.
Let’s break it down. A car detailing kit can promise a sparkling finish, but results seriously depend on your skill, patience, and the actual products inside your kit. If you rush, streaks, missed spots, and leftover grime are almost guaranteed. And if you have a daily driver—not a garaged classic—the shine from that Saturday session rarely lasts a whole week. Road dust, rain, and parked-under-the-oak-tree disasters show up fast.
Here’s a quick look at how long some of the "basics" can take:
| Task | Time Needed (Avg.) |
|---|---|
| Basic Wash | 30–45 minutes |
| Clay Bar | 30 minutes |
| Polishing | 1–2 hours |
| Waxing | 45–60 minutes |
| Vacuum/Interior Wipe-down | 45 minutes |
Add it up and you’re staring at about 3–5 hours, sometimes even more. For folks hoping to save time over taking their car to a pro, doing it yourself can end up eating your whole afternoon. And let’s not ignore the reality—sometimes the results just don’t live up to the hype on the package. You might sink a half-day in and end up with only a slight bump in shine or find swirl marks you accidentally put in.
Tip: If you want to get the most out of your detailing kits without losing your whole Saturday, focus only on one or two key things each time—like a fast wax and interior vacuum. Save the full overhaul for when you can really commit. Otherwise, the return on the time spent just isn’t worth it for most daily drivers.
Environmental and Health Issues
So, here’s something a lot of people don’t think about: car detailing disadvantages aren’t just about messing up your paint. Many of those popular detailing sprays, waxes, and cleaners in detailing kits pack some pretty harsh chemicals. If you’re detailing your car in the driveway, all those suds and rinses can flow right into the storm drain, heading straight for your local water supply without any filters involved. Pollution from automotive soaps and degreasers is a real thing and can even threaten fish and wildlife down the line.
Now, let’s talk about you. Ever busted out a bottle of wheel cleaner and noticed your throat or eyes feeling weird? A lot of detailing products contain stuff like VOCs (volatile organic compounds), which can cause headaches or even worse reactions if you’re using them in a closed garage. Without gloves, harsh chemicals can dry out or irritate your skin—and breathing those fumes isn’t exactly great either.
- Always read the labels and instructions, especially if you see warning signs like skulls or weird symbols.
- Use gloves and eye protection—seriously, it’s not just overkill.
- Never mix products, since that can create dangerous fumes.
- Try doing all your cleaning outside or in a well-ventilated spot to avoid inhaling chemicals.
Water waste is another downside. If you detail your car at home, you could easily burn through 100 gallons of water or more, depending on your setup. Professional places usually have systems to recycle water and safely handle cleaning agents, but at home, all that stuff just disappears down the nearest slope.
| Issue | Potential Impact |
|---|---|
| Chemical Runoff | Water pollution, harm to plants and aquatic life |
| VOCs Exposure | Respiratory issues, headaches, skin irritation |
| Water Usage | Over 100 gallons per wash (at home), big environmental footprint |
Honestly, being a little more eco-friendly isn’t that hard. Look for waterless wash options or products marked biodegradable. And the next time you break out your DIY car care arsenal, just pay attention to where the runoff and fumes are going—your body and the planet will be glad you did.
Tips to Dodge These Pitfalls
Nobody wants to spend good money on a car detailing kit just to end up with a scratched hood or foggy headlights. Dodging the common traps is actually easier than you might think, but you’ve got to pay attention to details most people breeze past.
First up, always read the labels on every product. Some waxes and cleaners aren’t safe for all paint types. For example, a clay bar meant for professional use might be way too abrasive for a regular sedan with old clear coat. While the box might shout “all-in-one,” don’t risk it. Test every new product on a small, hidden spot first—under a door or behind a license plate works.
Next, watch out for cross-contamination. Mixing up your wash mitt for wheels with the one for the body? That’s a shortcut to swirl marks and scratches. The best move is to color-code your cloths and mitts or grab a multi-pack to keep everything separate. Here’s a simple breakdown to keep things straight:
- One bucket, mitt, and towel just for wheels and tires.
- Different bucket, mitt, and towels for the body panels.
- Dedicated microfiber cloths for glass and interiors only, never reuse on paint.
Another headache is overusing or misusing chemicals. A little goes a long way, especially with strong degreasers and wheel cleaners—too much can ruin trim and even eat into the clear coat if not rinsed right away. Stick to the dilution ratios on the bottle. If it says “1:10,” actually measure it out. Folks often skip this, then wonder why the finish looks hazy or streaky after all that work.
Don’t forget your own safety either. According to a 2024 survey by a major detailing supplier, 1 in 5 DIY detailers reported skin irritation after using strong products without gloves. So, slip on some nitrile gloves and open the garage door or work outside for fresh air.
Last thing: more is not always better with car detailing kits. Over-polishing and aggressive buffing thin out your paint over time. Most manufacturers recommend polishing once or twice a year. If you’re tackling light dust or regular dirt, stick with pH-balanced soap and a gentle wash mitt.
If you keep these tips in mind, you’ll sidestep all the worst car detailing disadvantages, saving both your ride and your sanity.