DIY Car Decal Project Planner
Surface Preparation Checklist:
Enter details on the left and click Analyze Project to see estimated costs, durability, and readiness score.
You see a cool sticker on a mate’s ute and think, "I could make that." You’re right. But there’s a massive gap between slapping a sticker on a laptop lid and getting a decal to survive an Adelaide summer, a highway wash, and the occasional hailstorm. The short answer? Yes, you absolutely can make your own car decals. The long answer involves choosing the right vinyl, understanding surface prep, and realizing that not all adhesives are created equal.
The Real Difference Between Stickers and Decals
People use these words interchangeably, but in the automotive world, they mean different things. A sticker is usually printed on paper or thin plastic with a permanent glue. It’s cheap, it fades fast, and if you try to peel it off a paint job after two years, it often leaves a sticky mess or takes clear coat with it. A vinyl decal, however, is cut from a sheet of polymeric or cast vinyl. It’s thicker, more durable, and designed specifically for outdoor exposure. If you want something that lasts more than six months, you need vinyl, not paper.
When you look at commercial car decals, you’re looking at cast vinyl. This material is manufactured by pouring liquid PVC into a mold, which allows it to stretch and conform to curves without memory effect (trying to shrink back to its original shape). This is crucial for cars, which aren’t flat surfaces like windows or laptops. Cast vinyl typically has a lifespan of 5-7 years outdoors, whereas cheaper calendared vinyl might only last 2-3 years before cracking or fading.
Choosing Your Vinyl Material
Not all vinyl sheets are suitable for vehicles. If you buy a roll of generic craft vinyl from a hobby store, it will likely fail quickly on a car body. Here is what you actually need to look for when shopping for materials.
| Vinyl Type | Durability | Best For | Cost Estimate (per sq ft) |
|---|---|---|---|
| Calendared Vinyl | 2-3 Years | Flat surfaces, bumpers, temporary promos | $10 - $15 |
| Polymeric Vinyl | 4-5 Years | Most car bodies, moderate curves | $15 - $25 |
| Cast Vinyl | 6-8 Years | Complex curves, full wraps, high-end finishes | $25 - $40+ |
| Reflective Vinyl | 5-7 Years | Safety markings, emergency vehicles, night visibility | $20 - $35 |
For most DIY enthusiasts making logos, stripes, or small graphics, Polymeric Vinyl is the sweet spot. It offers excellent durability for the price and handles mild curves well. Brands like Oracal 651 or Avery Dennison DOL 1368 are industry standards available in Australia through sign supply shops. Avoid anything labeled "indoor/outdoor" unless it specifies "automotive grade" or "long-term exterior."
Tools You Actually Need
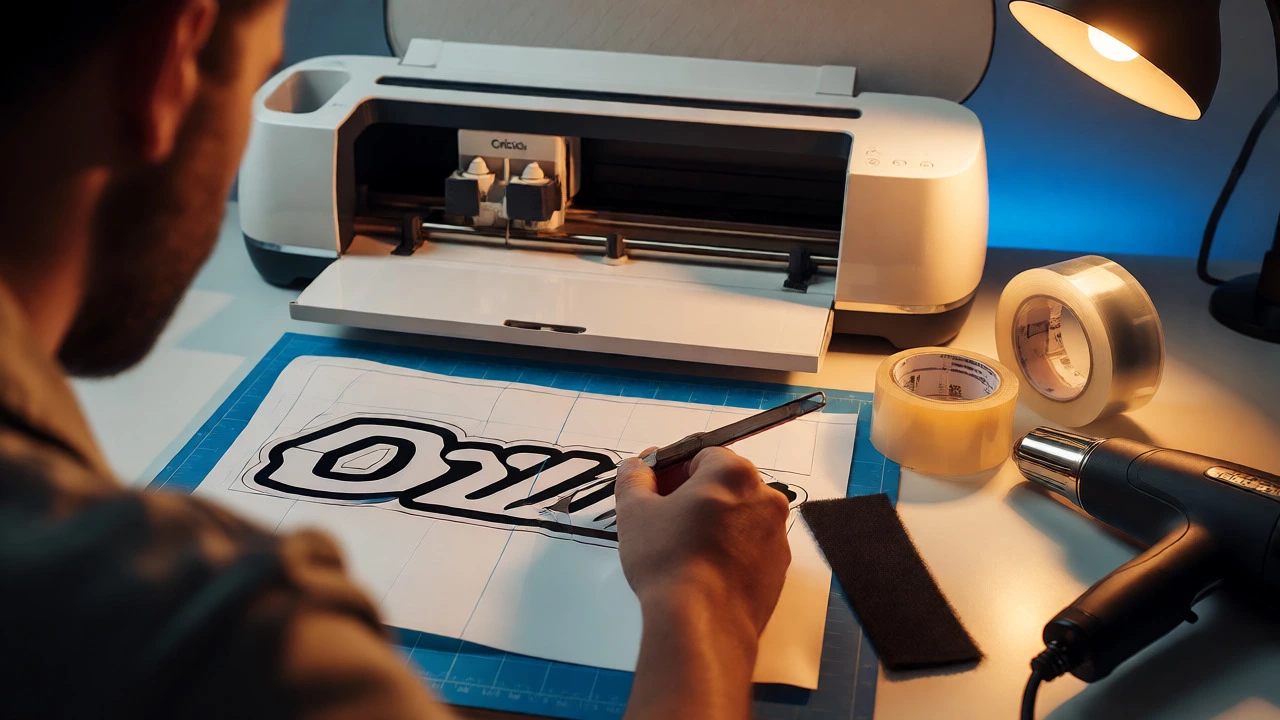
You don’t need a professional workshop to start, but you do need more than just scissors. Precision is key because weeding (removing the excess vinyl) becomes a nightmare if your cuts are inconsistent.
- Cutting Machine: A Cricut Maker or Silhouette Cameo 4 are popular home options. They handle standard 12-inch rolls perfectly. For larger projects, a plotter cutter is better, but those cost thousands.
- Weeding Tools: You need a sharp pick or tweezers. Cheap tools slip and scratch your design. Invest in a good quality weeding hook.
- Transfer Tape: This is the low-tack tape used to lift the cut vinyl and apply it to the car. Without this, you cannot move complex designs accurately. Get "clear" transfer tape for precision work.
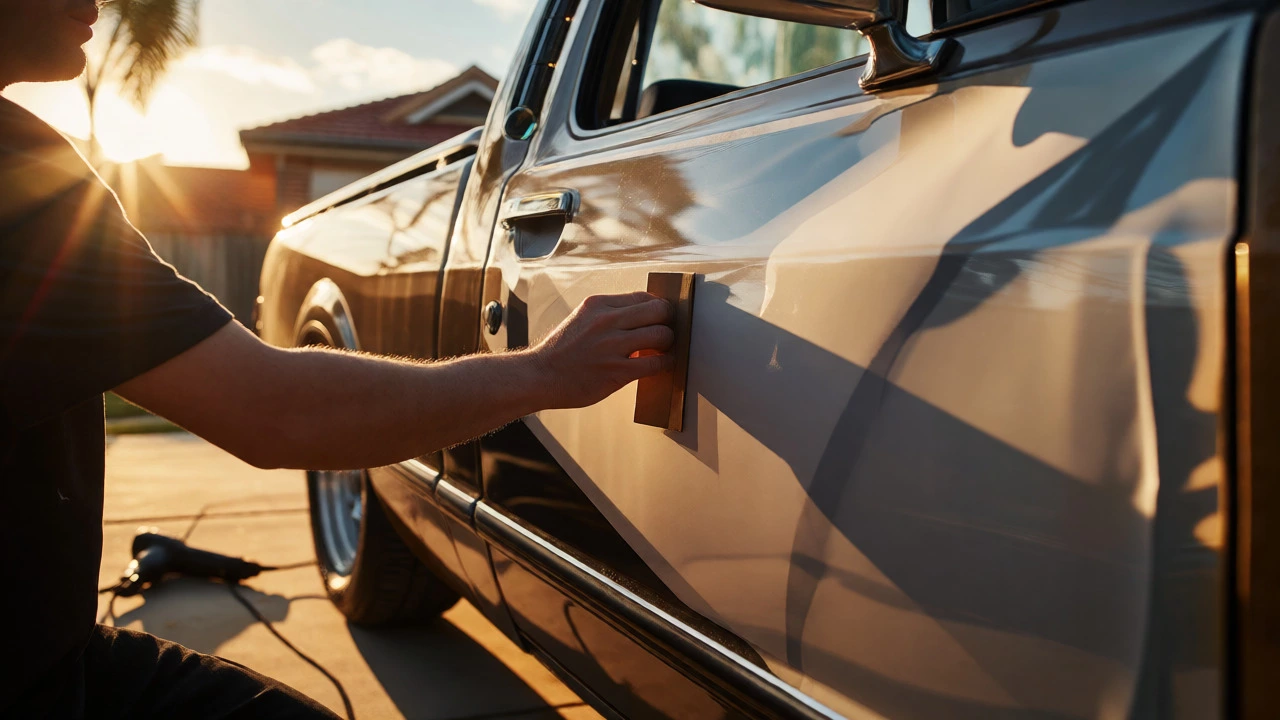
- Squeegee: A hard card or felt-edged squeegee removes air bubbles during application. Never use your fingernails; they leave oils and uneven pressure.
- Heat Gun or Hair Dryer: Essential for post-heating. Heat helps the adhesive bond permanently to the surface.
If you don’t have a cutting machine, you can order custom-cut vinyl online. Many local sign shops offer "cut-to-order" services where you send a vector file (SVG or EPS), and they ship you the pre-weeded decal with transfer tape applied. This saves time but costs more per unit.
Surface Preparation Is Everything
Here is the number one reason DIY decals fail: dirty surfaces. Car paint accumulates wax, silicone sprays, road grime, and micro-scratches. Vinyl adheres to the top layer of whatever is on the car. If that top layer is wax, your decal will pop off in the rain.
Follow this cleaning protocol before applying any decal:
- Wash: Clean the area thoroughly with car soap and water. Remove loose dirt.
- Decontaminate: Use an isopropyl alcohol solution (IPA) mixed 50/50 with distilled water. Wipe the area down firmly. This strips away waxes and polishes.
- Dry: Let it dry completely. Moisture trapped under vinyl causes bubbling later.
- Inspect: Check for chips or rust. Vinyl won’t stick well to rough, oxidized metal. If the paint is peeling, fix that first.
Do not use household cleaners like Windex or dish soap alone. Dish soap can leave residues that weaken adhesion over time. IPA is the gold standard for sign installers because it evaporates quickly and leaves no residue.
Application Techniques for Beginners
Applying a decal looks easy until you try to align a logo on a curved fender while wind blows dust onto the sticky side. Practice makes perfect, so test your technique on a clean piece of glass or a scrap panel first.
For small decals (under 6 inches), the "hinge method" works best. Cut the transfer tape slightly larger than the decal. Fold the transfer tape back on itself halfway, exposing the bottom half of the decal’s adhesive. Position the exposed half on the car, press it down, then slowly peel the rest of the backing away while smoothing the transfer tape forward. This prevents misalignment.
For larger graphics, wet application might be necessary, though it’s trickier with standard adhesive vinyl. Most modern automotive vinyls are "dry apply," meaning you apply them dry and use heat to activate the final bond. If you choose wet application, use a spray bottle with water and a drop of dish soap. Spray the car surface and the back of the decal, position it, then squeegee out the water. Note: Not all vinyls tolerate water well; check manufacturer specs.
Once positioned, burnish (rub) the decal firmly with your squeegee. Apply consistent pressure from the center outward to push out air. Then, peel the transfer tape back at a 180-degree angle (parallel to the surface), not upward. Pulling up lifts the decal; pulling sideways keeps it stuck.
Post-Heating: The Secret to Longevity
Many DIYers skip this step and wonder why their decals edge-lift after three months. Post-heating activates the chemical bonds in the adhesive. It doesn’t just warm the vinyl; it changes how the glue interacts with the paint.
Use a heat gun set to medium-low or a hair dryer on high. Move constantly to avoid overheating spots. You want to reach a surface temperature of around 80°C to 90°C (check your vinyl brand’s datasheet). Hold the heat source about 6-8 inches away. Focus on the edges first, as these are the most common failure points. Once heated, let the decal cool naturally. Do not touch it while hot, as the vinyl remains pliable and can shift.
This process ensures the vinyl conforms to microscopic imperfections in the paint. Without post-heating, the vinyl sits on top of the surface rather than gripping it, making it vulnerable to lifting from car wash brushes or weather expansion.
Legal Considerations in Australia
Living in Adelaide means dealing with South Australian vehicle regulations. While you can decorate your car, you can’t obscure critical safety features. Ensure your decals do not cover license plates, indicators, brake lights, or reflectors. Tinted windows have strict rules too; if you put a large graphic on a rear window, ensure it doesn’t block the driver’s view excessively.
Also, consider insurance. Some insurers classify extensive modifications or wraps as alterations that need declaration. Small decals usually don’t affect premiums, but if you wrap the whole car in a bright color, call your provider. Also, if you sell the car later, a poorly removed decal can damage resale value. Proper removal with heat and solvent preserves the paint underneath.
Troubleshooting Common Issues
Even pros make mistakes. Here is how to fix the most common DIY problems:
- Bubbles: Small bubbles often disappear after post-heating. Large ones need pinning. Prick a tiny hole with a needle and press the air out. Do not use a knife blade; it tears the vinyl.
- Lifting Edges: Reheat the edge and press firmly. If it still lifts, add a drop of edge sealer (available at sign shops) to lock it down.
- Ghosts: When removing old decals, adhesive residue often remains. Use Goo Gone or a dedicated automotive adhesive remover. Test on a hidden spot first to ensure it doesn’t strip clear coat.
- Fading: UV rays kill cheap vinyl. If your decal fades within a year, you used indoor-grade material. Replace with automotive-rated vinyl next time.
Making your own car decals is a rewarding skill. It saves money compared to professional installation and gives you total creative control. Start small, invest in decent materials, and respect the preparation steps. Your car will thank you with a sharp, lasting look that turns heads on King William Street.
Can I use regular printer stickers on my car?
Technically yes, but they won't last. Regular paper stickers absorb water, fade quickly in sunlight, and leave difficult-to-remove glue. For any outdoor use, always use vinyl or laminated polyester stickers designed for exterior conditions.
Will car decals damage my paint?
High-quality automotive vinyl should not damage factory paint if removed correctly using heat and proper solvents. However, if your paint is already chipped, faded, or repainted with poor quality clear coat, the adhesive might pull up loose layers. Always test on a small, inconspicuous area first.
How long does it take to make a DIY decal?
Designing and cutting a simple logo takes about 30-45 minutes. Weeding can take another 15-30 minutes depending on complexity. Application takes 10-20 minutes once you are practiced. Allow extra time for surface prep and post-heating.
Can I wash my car after putting on decals?
Wait at least 24 hours after application before washing. This allows the adhesive to fully cure. After that, hand washing is safest. Automatic car washes with stiff brushes can lift edges over time, especially on older decals.
What is the best vinyl brand for beginners?
Oracal 651 is widely recommended for beginners because it is forgiving, affordable, and widely available. It is a calendared vinyl, so it is great for flat or slightly curved surfaces. For more complex curves, upgrade to Oracal 631 or 751 series.