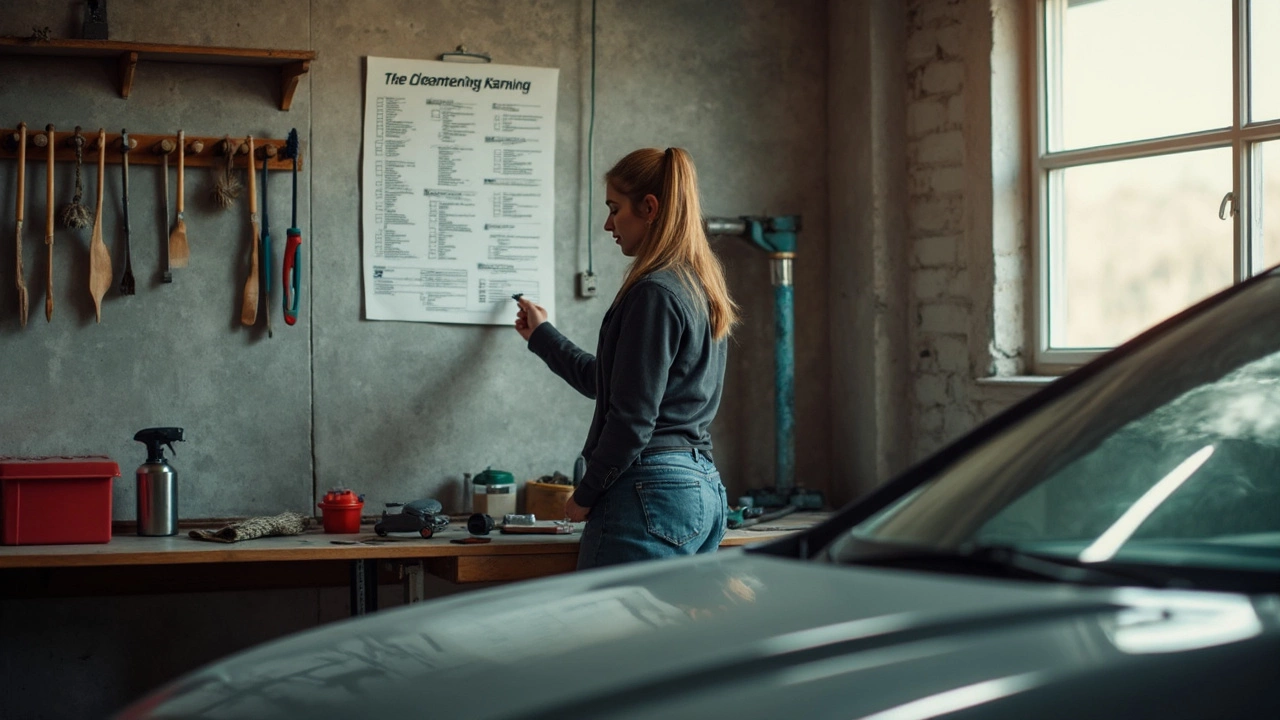
Ever tried cleaning your car and ended up with more smudges and streaks than you started with? Most people don’t realise just how much gear goes into getting that showroom shine. There’s no magic in professional-looking results, but there sure is method. It’s about starting with the right equipment, not just grabbing an old foam from your kitchen or using random household cleaners. Fact: Using the wrong towels alone is a top reason people scratch their paint, wreck their windows, or get frustrated with car cleaning in general.
Growing up in Adelaide, I was surrounded by cars that seemed to gleam no matter the weather—maybe it’s something about Aussies and their love for keeping things mint. When I first set up for some DIY detailing, I was overwhelmed by the choices: foamy sprays, odd-shaped brushes, towels made of stuff I’d never even heard of. But once you cut through the flash and focus on the essentials, it’s not that hard. Let’s clear up what kit you actually need to get started, avoid rookie mistakes, and keep your ride looking like you drive it off the lot every week.
The Absolute Must-Have Equipment Everyone Needs
No need to spend thousands right off the bat. The basics are surprisingly simple, but skipping even just one thing can make the difference between glory and disaster. Here’s what you really need for car detailing (and why):
- Two Buckets—One with soapy water for washing, one with clean water for rinsing. This ‘two-bucket method’ is a pro trick that keeps grit from scratching your paintwork. Wash mitt in soapy bucket, rinse in clean bucket—repeat.
- Grit Guards—Fits at the bottom of each bucket, keeps the dirt where it belongs: at the bottom, not back on your mitt.
- Wash Mitt—Ditch the old sponge and grab a soft microfiber mitt. Microfiber traps dirt, where sponges just smear it around. It’s the hug your paint deserves.
- pH-Neutral Car Shampoo—Forget dish soap, which kills wax and dries paint. Special car shampoo cleans without stripping old wax layers.
- Microfiber Drying Towels—Regular bath towels are too rough. Microfiber sucks up water and glides across paint, stopping swirl marks in their tracks.
- Wheel Brush—Brake dust is savage on rims and needs a designated brush. Look for soft bristles that can snake into tight spaces.
- Soft Detailing Brushes—Useful for badge crevices, air vents, and window seals. Soft enough for paintwork, detailed enough for nooks you’ll find all over your car.
- Glass Cleaner and Microfiber Glass Towels—A must for streak-free windows. Ammonia-free is best to protect tints.
- Car Wax or Sealant—Even a basic paste wax outperforms cheap sprays. Wax protects your paint, making washing faster next time too.
- Applicator Pads—These work for wax or trim dressing, and keep products from getting everywhere.
- Vacuum Cleaner—Cordless or plug-in doesn’t matter; you just want something with crevice tools for seats and floors.
- All-Purpose Interior Cleaner—Multi-surface sprays clean plastics, vinyl, leather, rubber, and more, so you need just one bottle for almost everything inside.
- Tyre Shine Gel or Spray—Makes rubber look new instead of dusty. Non-sling formulas keep it on your tyres, not your paint.
- Clay Bar Kit—Optional, but perfect for cars with stubborn surface contaminants—leaves paint glass-smooth.
Don’t get sidetracked by “miracle” products or random kitchen solutions from YouTube. Each of the items above has a job, and skipping one will show in your results. Melting candle wax on your bonnet “for protection”, using vinegar on your paint, or towels with polyester fibers are all a fast track to hours of regrets.
Look at the bucket system alone—even professional detailers in the US and Australia agree that scratches—and I mean the annoying ones that build up over years—mostly come from bad washing habits. That’s why the humble rinse bucket and grit guard became musts. If you live near the ocean, the fine salt in the Adelaide air and rain might make your washing routine even more crucial. I’ve washed mine after a drive back from the coast with just a regular sponge before—paint started looking “cloudy” within six months. Lesson learned.

Making Your New Gear Work for You: Pro Tips and Habits
So you’ve picked up your gear. Now what? The magic is in how you use it. Even the fanciest car cleaning kit won’t save you from bad technique, but a little skill takes you way further than expensive tools every time. Here are the golden habits I wish someone told me straight up:
- Always work top-down—Start at the roof, then windows, then panels, and leave wheels and tyres for last. Everything flows downward, so you don’t get dirt where you just cleaned.
- Rinse off loose dirt before you touch the paint—Spray with your hose or pressure washer if you have one. The less you scrub dry, the fewer swirls and scratches you get.
- Keep your mitt clean, rinse it often—The rinse bucket should be your best mate. If it’s looking murky, swap the water out fast.
- Microfiber is king, but keep towels separate—One set just for paint, another for dirty jobs like wheels and interior plastics. Cross-contamination makes efforts pointless.
- Never wax a hot car or in the sun—The wax bakes and becomes a nightmare to remove. Early morning or garage shade is prime time.
- Vacuum before you wipe—Sucking up loose crumbs or sand first stops you from grinding it around when wiping seats or dashboards.
- Change up your tools when needed—Buy new mitts and towels when they start feeling rough. Old, dry microfibers can scratch more than help.
- Don’t forget door jambs, boot edges, and under the fuel cap—These spots gather dirt that seeps onto your fresh finish the minute it rains.
- Use interior tools wisely—A soft brush blasts out dust from air vents or hard-to-reach corners, then vacuum up the mess. Compressed air is nice but optional unless you’re obsessive.
- Quality matters—A 2022 survey by Consumer Reports found that microfiber towels from reputable auto brands lasted up to four times longer than bargain packs. The good stuff cleans better too.
If you haven’t tried a clay bar yet, here’s a real surprise: drag it across a clean panel, and you’ll feel little bumps. That’s all the bonded stuff regular washing can’t budge—tar, tree sap, industrial fallout—and a clay bar lifts it off. Only do this once or twice a year or if you’re prepping for serious waxing.
One thing Aussies do better than most is regular maintenance washing, but frequent, light cleaning beats heavy-duty scrubbing every time. In hot climates like Adelaide, dust and insects stick to paint quickly; don’t wait for months between washes, or bird poop and tree sap will strip clear coat faster than you imagine.

How to Choose, Store, and Upgrade Your Detailing Gear
You don’t need to go all-out on your first shopping trip. Start with the essentials from above, and then watch how you clean and where you struggle. If you live in an apartment or can’t use a hose, look into spray-off washes or rinseless cleaning products. Some high-rise city dwellers in Sydney or Melbourne use compact detailing carts with waterless wash sprays and keep a collapsible bucket in the boot for emergencies. Adapt your kit to your space and time.
Keep your gear organized and clean. Microfiber towels should get machine washed (separate from clothes, avoid fabric softener) and air dried. Products like degreaser or wheel cleaner should be clearly labelled and stored upright on a shelf—way out of reach of curious pets or little kids. Flash, my goldfish, has never tried to gnaw on a tire brush, but you don’t want to risk it.
- Store wash mitts and towels in closed containers or clean drawers to stop them picking up dust or insects.
- Empty and clean your buckets after each use—old soap scum or grit is no friend of future washes.
- Group products by category—interior, exterior, wheels/tyres—so you’re not wasting time digging for the right cleaner in a hurry.
If you want to go next-level, there are upgrades after you’ve mastered the basics. Think dedicated foam cannons (if you have a pressure washer), paint depth gauges, or specialty extractors for deep-cleaning fabric seats. Don’t kid yourself into buying gear you’ll use once and forget, though. Start basic. Add fancier stuff when you find yourself wishing your job was easier, not just shinier.
| Item | Suggested Price Range |
|---|---|
| 2 Large Buckets + Grit Guards | $25-$35 |
| Microfiber Wash Mitt | $10-$20 |
| pH-Neutral Car Shampoo (1L) | $18-$30 |
| Microfiber Towels (3 pack) | $12-$30 |
| Wheel Brush | $12-$25 |
| Detailing Brushes (Set) | $18-$28 |
| Glass Cleaner | $8-$16 |
| Wax or Sealant | $25-$50 |
| Applicator Pads (pack) | $8-$16 |
| Interior Cleaner | $12-$18 |
| Tyre Shine | $12-$18 |
| Vacuum Cleaner | $60-$250 |
| Clay Bar Kit | $30-$45 |
Add it all up, and a solid starter car detailing kit (excluding vacuum if you already have one) lands somewhere between $170 and $300 AUD. Cheaper than a couple of pro jobs for many, and a way better feeling when you stand back and see your handiwork. The biggest value? You control every step—no cut corners, no question marks about what products get sprayed on your pride and joy.
Detailing is one of those rare things where a little obsession actually pays off. The tools—good buckets, the right mitt, a stack of soft towels, and smart habits—are all you need to start. Your car will thank you, the neighbour will wonder if you’ve got your own pro in the garage, and you’ll know you did it right every time. Plus, you’ll never worry about a surprise finger-smudge on your next road trip selfie again.