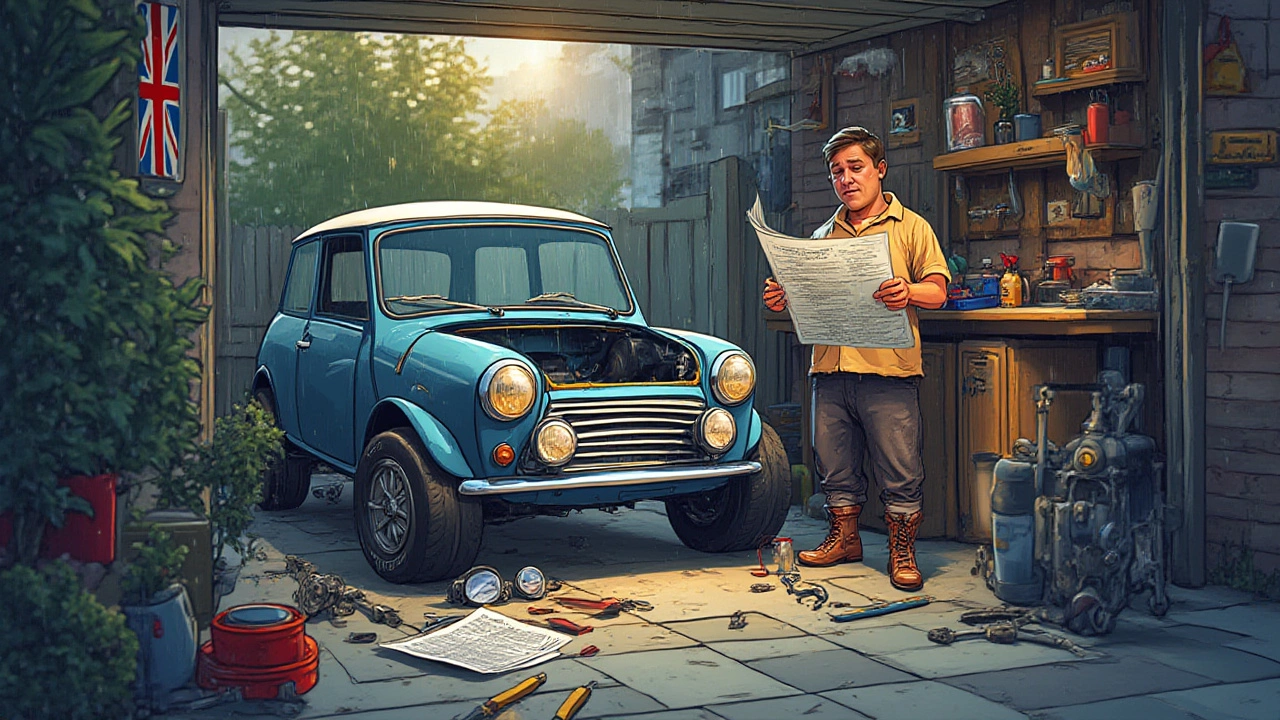
Ever heard a car fire up after an exhaust upgrade? It’s not just a different sound; it’s a different personality. Most folks don’t think much about their exhaust until they want their ride to stand out—or they dream of squeezing out extra horsepower. But knowing how long you’ll be without your car is usually the dealbreaker. Miss work, miss your plans, miss your ride—nobody wants that. So, just how long will you be caught in custom exhaust limbo? Not every answer floating around on forums or TikTok is as real as people claim. Some say a couple of hours, others mutter about days in the shop. Truth is, it depends on several things, from what exactly you want, to how prepared your car—and your installer—actually are.
What Does a Custom Exhaust Job Involve?
Think "custom exhaust" and you might picture a quick swap, like changing sweatpants. Not quite. Upgrading an exhaust isn’t as simple as bolting on a shiny pipe under your car. There’s real work involved. Formats can be as basic as a cat-back system (from the catalytic converter back), a full header-back system, or wild, one-of-a-kind setups with hand-shaped pipes and unique mufflers. Every build is a little different, and here’s why that matters for installation time.
First, the car’s make, model, and age play a massive role. Modern cars often have more electronics and sensors, including oxygen sensors that need to be handled carefully. There's the sheer number of exhaust hangers and fasteners—older cars might fight you with rusted bolts, while late-model vehicles could have tricky heat shields to work around. The exhaust path isn’t always straightforward, and some vehicles have crossmembers, drive shafts, or axle complications to dodge.
If you’re going with a premade bolt-on kit designed for your specific model, the job usually skips custom welding and complicated routing, saving a ton of time. But a true custom exhaust might mean cutting, bending, and welding pipe sections on the fly, sometimes right under your car on a lift. The process also calls for proper fitment checks, leak inspections, and a sound test at the end.
The specifics quickly add up. Here’s a quick look at typical install steps for a custom exhaust:
- Jack up and safely support the vehicle. (Safety takes time!)
- Remove the old exhaust system—this can get rough with corroded or seized hardware.
- Fit the new system, which might mean mock-ups, marking, cutting, and re-fitting to hit the sweet spot for alignment and clearance.
- Weld or clamp new joints as needed. Welding is strong but time-consuming; clamps save minutes but aren’t always ideal for complex bends.
- Attach new or re-used exhaust hangers to stop rattles and sagging.
- Reconnect sensors, check for leaks, double-check all fasteners, then test the sound and performance (no one wants that embarrassing whistling leak on their first drive).
Every step can drag longer if something surprises the installer—a stripped bolt, a bent flange, or that infamous check-engine light right after startup. That’s just the nature of custom work.
Shop Installations vs. DIY Timelines
People love the idea of saving some bucks and wrenching at home, but let’s get real—shop pros have lifts, power tools, and a ton of experience wrestling stubborn parts into place. On average, a straightforward custom cat-back exhaust in a professional shop takes between two and four hours—from rolling onto the lift to the first engine roar. If you want real data, most shops in 2025 quote about 2–3 labor hours for a cat-back system, and up to 6–8 hours for a complex full exhaust done from scratch with custom-maid bends and welds. Highly specialized projects can stretch into multiple days, especially if the fabrication involves rare car models or off-menu modifications.
Home garage timelines look very different. Lacking a lift? You’ll waste 30 minutes just trying to get the car high enough on jack stands. Fiddly hardware can double your timeline. If you’re handy and have all the parts lined up, plan on at least 4–8 hours for a basic kit, even if the instructions say “simple bolt-on.” Working with true custom piping or one-off mufflers? You’re looking at a weekend project, especially if you run into rusted fasteners, missing hangers, or need help from a welding shop.
Let’s say you own a late-model Mustang and want a custom-ordered Borla cat-back system. In a pro shop, you’re probably in and out in around three hours. Try the same at home and you might need six, with some cursing and borrowed tools. If you own a 20-year-old Subaru and want a full header-back with custom routing and multiple bends, shops might need to fabricate sections, test-fit, weld, let things cool, then re-check fitment—a process that can run up to 12 hours if issues arise.
| Install Type | Professional Shop (Hours) | DIY Install (Hours) |
|---|---|---|
| Bolt-on Cat-Back | 2–4 | 4–8 |
| Full Custom Header-Back | 6–12 | 8–20 |
| Exotic or Classic Car | Up to 20+ | Varies – sometimes impossible solo |
And yes, experienced DIYers with a home lift and all the right toys can shave those times, but that’s not most people’s setup. Need that car for work on Monday? Don’t start on Sunday afternoon.

Factors That Change Your Time in the Shop
Installers know that every car comes with a few surprises. Some factors are in your control; some aren’t. Here’s what actually messes with the timeline:
- Car condition: Rusted or old fasteners can triple removal time. A two-year-old car is a breeze compared to a daily driver from 2004 that’s seen Northern winters.
- Type of exhaust kit: Pre-made bolt-on kits match factory mounting points, which speeds things up. True custom work that wants a special sound, more bends, or extra muffler tricks takes much longer—there’s no one-size-fits-all in fabrication.
- Workshop equipment: Lifts, plasma cutters, pipe benders, and welders make everything faster. Not all small shops have the same gear, so labor times vary. DIY without these tools can drag for hours.
- Sensor and tech complications: Modern exhausts are littered with oxygen sensors, temperature probes, sometimes even exhaust valves and flaps. Each item adds connection steps and possible electronic headaches if you’re not careful.
- Additional modifications: Planning on adding headers, resonators, or switching muffler styles? More parts mean more install hours. Plus, a proper alignment is needed to dodge undercar obstacles.
- Legal and testing checks: In some states or regions, shops are required to check emissions or do sound tests before handing you back the keys. That’s more waiting in line, not just labor time.
A quick tip—always ask the shop if they’ve installed your specific kit before. Shops that do dozens each month have muscle memory for common trips, but even they hit a slow patch with new brands or vehicles they haven’t worked on yet.
Something a lot of people miss? Even with everything going by the book, exhaust parts sometimes ship with small fitment errors, missed gaskets, or the wrong clamps. Double-checking your parts before you hand off your ride can save another day in limbo if something is missing or wrong.
Tips to Speed Up Your Custom Exhaust Install
No one likes waiting. Want your installation to go as quick as possible? There’s a few tricks you can use (or ask about at your shop):
- Get all parts and accessories ready ahead of time. Missing a single flange or gasket can pause your whole project. Triple-check what’s in your kit before scheduling the install—delivery delays happen all the time.
- If you’re having the shop order the system, ask if they can confirm everything’s in hand before your appointment. Don’t just assume it’s all there.
- Clean your undercarriage if you can. Loose dirt or thick road grime can get in the way during fitment. Some shops will thank you (maybe not with a discount, but they’ll work faster).
- For older cars, spray penetrating oil on exhaust fasteners for a couple days before the job. Sounds silly, but a little WD-40 goes a long way toward faster removals.
- If you’re the DIY type and borrowing tools, line up everything before you start. Juggling rentals mid-project will burn your whole afternoon.
- Watch out for extra requirements with modern cars: custom exhausts can sometimes trigger check engine lights if sensors aren’t re-installed just right. A quality install means checking for error codes before rolling out.
- Plan for some buffer time. Shops hate rush jobs, and a mistake because you’re hurrying out the door costs more in the long run.
You might be tempted to skip the test drive, but always (always!) insist on it. Rattles, leaks, or knocks are way easier to fix while the car’s still in the shop instead of a week later at home.

What to Expect After the Install: Testing, Adjustments, and Break-In
A new custom exhaust installation isn’t just ‘job done, keys handed over, enjoy the noise.’ There’s a post-install reality. First, shops usually double-check for leaks with a quick visual inspection and sometimes a smoke machine if they’re thorough. Don’t be surprised if they retighten bolts after the first warm-up—metal expands, and it’s normal for things to settle slightly. Savvy shops often recommend a follow-up in a week or two for a re-check, especially if you notice unusual sounds.
The new pipes themselves sometimes need a break-in period. Brand-new exhaust systems can “settle” as they heat cycle a few times. You might catch a bit of metallic ticking or fresh smells for the first few drives. That’s common, especially if your system uses ceramic coatings or treated metals—those smells burn off quickly. Most new systems should be checked for rattles and scraped-down spots after real road driving, not just a shop test drive.
If your new setup triggers a dashboard light, especially in modern vehicles, don’t panic. Sometimes it’s a loose sensor connection or just a system reset needed. Make sure the shop is prepared to clear basic codes and check for genuine problems before you leave. If you DIY’d the install, having a cheap OBD-II scanner around can save you from unnecessary worry or shop bills.
There’s a comfort period, too. Your car might sound or feel a bit different. A new exhaust tone can be addicting (or, if you pushed the limits, maybe annoyingly loud). Don’t be afraid to go back for sound tweaks or small adjustments—shops expect follow-up questions after custom installs, and experienced techs can often tweak hangers or add simple baffles if needed.
One thing to keep in mind: nearly all reputable exhaust manufacturers recommend keeping your original system for a while just in case you run into inspection rules, warranty worries, or an unexpected issue. Tossing out the OEM exhaust the first day—common rookie mistake. Store it if you can.
For anyone curious about raw data, a SEMA report from fall 2024 mentioned that custom exhaust upgrades remain in the top 10 modifications among US car owners under 35, with an average shop wait of 1–3 weeks during busy months. If you’re in a rush, book your install early during off-peak weeks—typically January and February.