Auto Detailing Checklist & Progress Tracker
Click each step as you complete it to track your progress toward a showroom shine.
1. Gather Arsenal
Collect pH-neutral shampoo, 2 buckets, microfiber towels (300+ GSM), wheel brush, vacuum, and all-purpose cleaner.
2. Two-Bucket Wash
Use separate soap/rinse buckets. Wash top-down with straight-line motions. Use separate mitts for wheels vs. paint.
3. Clay Bar Decon
Check paint smoothness. If gritty, use clay bar with lubricant to remove bonded contaminants (tar, sap, fallout).
4. Paint Correction
Optional but recommended. Use DA polisher or hand polish to remove swirls/scratches. Inspect under bright light.
5. Interior Deep Clean
Vacuum seats/carpets/crevices. Condition leather. Wipe dash with matte finisher. Clean glass last.
6. Apply Protection
Apply wax, sealant, or ceramic coating in shade on cool panels. Buff off haze. Dress tires carefully.
You’ve probably seen those cars that look like they just rolled off the assembly line, even though they’re five years old. The paint pops, the wheels sparkle, and the interior smells fresh instead of like gym bags and stale coffee. That’s not magic; it’s auto detailing. It is a meticulous process of cleaning, restoring, and finishing a vehicle to produce a show-quality level of detail. Unlike a quick trip through the local car wash, which often leaves swirl marks and missed spots, proper detailing protects your investment and keeps resale value high.
Most people think detailing is just washing the car really well. It’s actually more like giving your car a spa day where every inch gets attention. Whether you want to tackle this yourself on a Saturday morning or hire a pro, understanding the steps helps you know what to expect and how to maintain results. Here’s how to get that deep-clean glow without scratching your paint or breaking the bank.
Gather Your Arsenal: Essential Tools and Products
Before you touch a drop of water, you need the right gear. Using household dish soap will strip wax and dry out rubber seals, so skip it. You need products designed specifically for automotive surfaces. Start with a quality pH-neutral car shampoo, two buckets (one for soap, one for rinsing), and plenty of high-quality microfiber towels. Cheap towels can scratch paint, so invest in plush ones with at least 300 GSM (grams per square meter).
You’ll also need a wheel brush for spokes, an interior vacuum with crevice tools, glass cleaner, and an all-purpose cleaner for dashboards. If you’re serious about paint protection, grab a clay bar kit and a bottle of synthetic sealant or ceramic spray. Having everything within arm’s reach prevents you from running back and forth to the garage, which wastes time and increases the chance of dirt landing on wet paint.
The Exterior Wash: Mastering the Two-Bucket Method
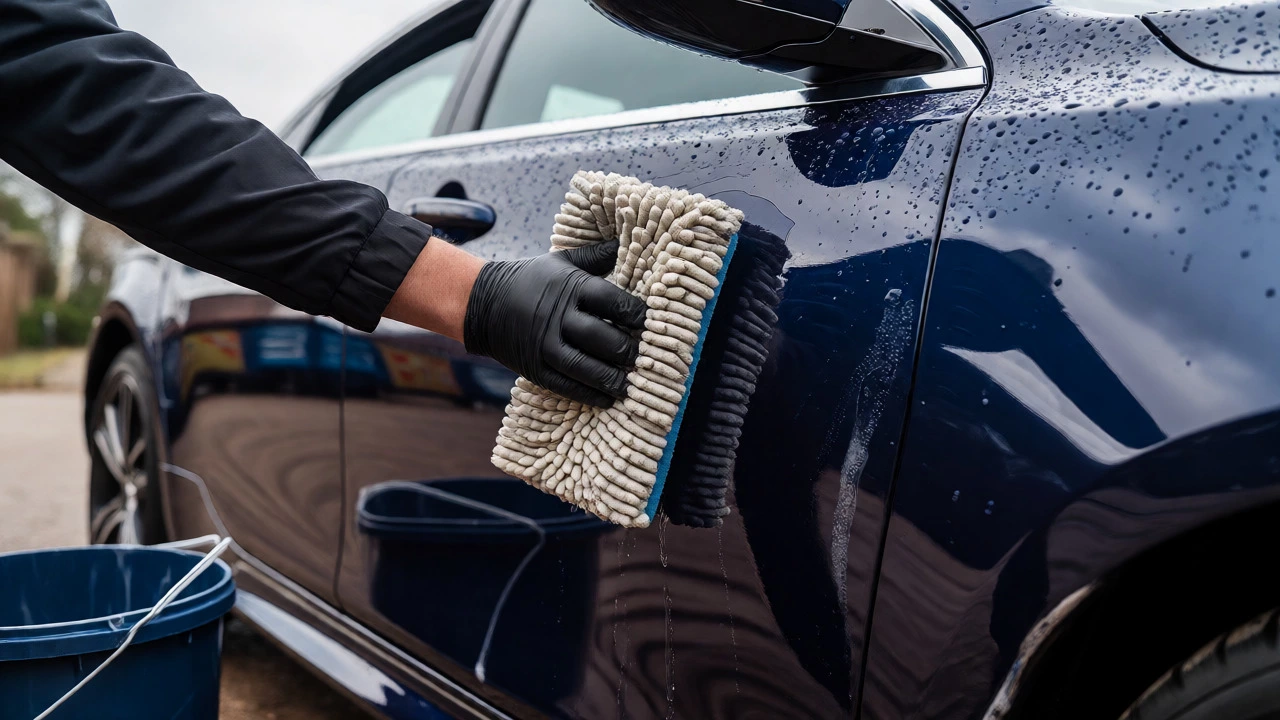
The biggest enemy of your paint is grit. When you wash a car incorrectly, you drag dirt across the surface, creating swirl marks-those fine scratches you see under direct sunlight. The solution is the two-bucket method. Fill one bucket with water and shampoo, and the other with plain rinse water. Dip your wash mitt into the soap bucket, clean a small section of the car, then dunk the dirty mitt into the rinse bucket to shake off debris before reloading with soap. This keeps grit out of your wash solution.
Always start from the top and work down. Gravity pulls dirt downward, so washing the roof first means you’re pushing clean water over already cleaned lower panels. Use straight-line motions rather than circles when drying, as circular motions highlight any remaining swirls. For the wheels, use a separate set of brushes and towels. Brake dust is acidic and abrasive; using the same mitt on wheels and paint will transfer metal particles onto your clear coat.
Decontamination: Clay Bar Treatment
Even after a thorough wash, your paint might feel rough to the touch. This is bonded contamination-industrial fallout, tree sap, tar, and overspray that regular soap can’t remove. This is where a clay bar comes in. It’s a pliable piece of resin that grabs contaminants from the paint surface when lubricated.
Spray a generous amount of clay lubricant (or diluted shampoo) on a small panel, then gently glide the clay bar back and forth. Don’t press hard; let the clay do the work. Fold the clay frequently to expose a clean surface. As you move around the car, you’ll notice the paint becoming smoother, almost like glass. This step is crucial before applying any polish or wax because sealing in dirt creates a bumpy finish.
Paint Correction: Removing Swirls and Scratches
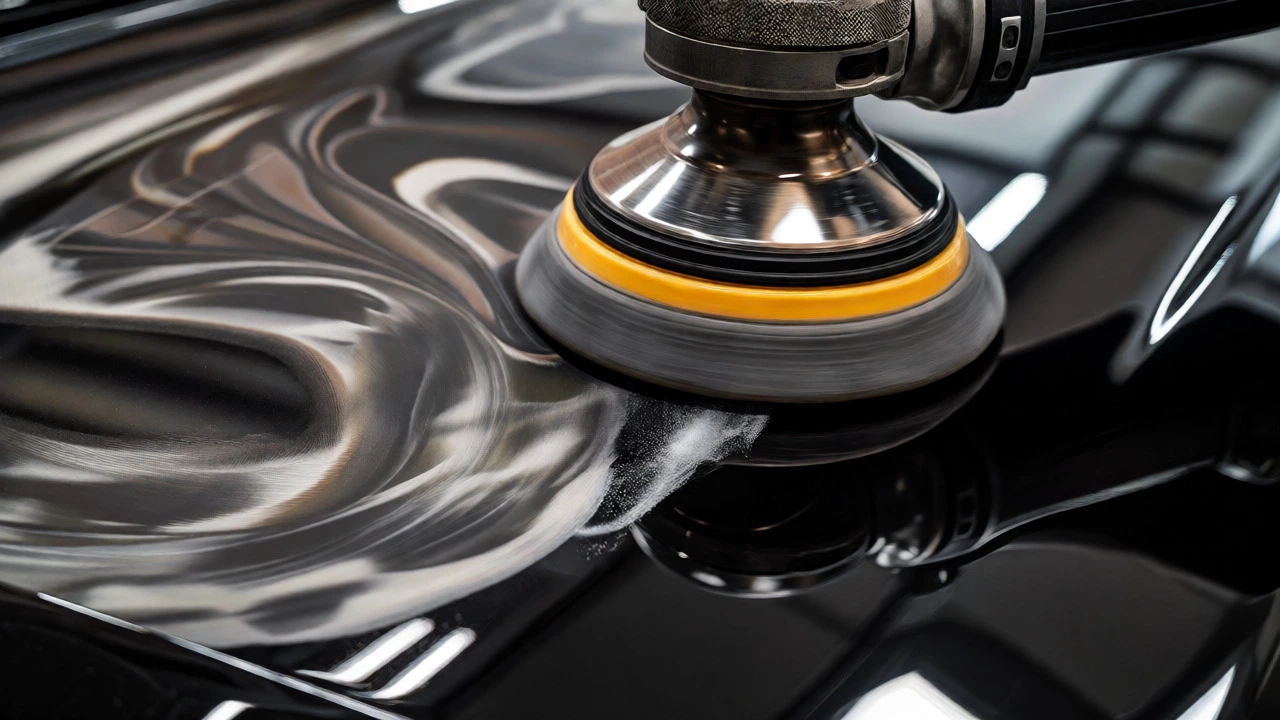
If your goal is perfection, washing and claying aren’t enough. Paint correction involves mechanically removing a thin layer of clear coat to eliminate defects. For beginners, hand polishing is possible but labor-intensive. Most enthusiasts use a dual-action polisher. This machine oscillates and rotates, reducing the risk of burning the paint compared to older rotary buffers.
Start with a light cutting pad and a mild compound if you have minor swirls. Work in small sections, typically 2x2 feet, at low speed to spread the product, then increase speed to work it in. Wipe away residue with a clean microfiber towel and inspect the area under bright light. If scratches remain, repeat the process. Remember, you are removing material, so don’t over-polish one spot. If you’re unsure, stick to a one-step polish that cleans and adds gloss without heavy cutting.
| Product Type | Best For | Durability | Application Difficulty |
|---|---|---|---|
| Carnauba Wax | Deep warm shine on dark cars | 4-8 weeks | Easy (Hand) |
| Synthetic Sealant | High gloss and UV protection | 6-12 months | Moderate (Machine recommended) |
| Ceramic Spray | Quick hydrophobic boost | 3-6 months | Very Easy (Spray and wipe) |
| Ceramic Coating | Long-term hard shell protection | 2-5 years | Hard (Professional or Expert DIY) |
Interior Deep Clean: Beyond Vacuuming
Your interior takes a beating from sun, sweat, and spilled drinks. Start by removing floor mats and shaking them out. Vacuum seats, carpets, and crevices thoroughly. Pay special attention to seat tracks and under pedals where crumbs hide. For leather seats, use a dedicated leather cleaner and conditioner. Conditioner prevents cracking and keeps the material supple, especially important in sunny climates like Adelaide.
For fabric seats, consider a steam cleaner or upholstery extractor if stains persist. Dust dashboard vents with a soft brush attachment, then wipe surfaces with an all-purpose cleaner diluted appropriately. Avoid silicone-based dressings on the dashboard, as they create glare and attract dust. Instead, opt for matte finishes or water-based protectants. Clean windows last, using a separate glass-specific cloth to avoid lint.
Protection: Locking In the Shine
Once the car is clean and corrected, you must protect it. Without protection, new contaminants will bond immediately, and UV rays will fade the paint. Choose your protector based on how long you want to wait between applications. Carnauba wax offers a traditional warm glow but washes off quickly. Synthetic sealants provide sharper gloss and longer life. Ceramic coatings form a semi-permanent bond, offering superior chemical resistance and ease of cleaning.
Apply your chosen product in shade on cool panels. Direct sunlight causes products to cure too fast, leading to streaks. Buff off haze with a clean, dry microfiber towel. Finish with tire dressing to complete the look. Dressings range from wet-look gel to satin matte. Apply carefully to avoid getting it on brake rotors, which can cause squealing.
Maintenance: Keeping It Detailed
Detailing isn’t a one-time event. To keep your car looking fresh, wash it every two weeks using the two-bucket method. Dry it properly to prevent water spots, especially if you have hard water. Every few months, apply a spray sealant to refresh the hydrophobic layer. Check tires and trim monthly; UV damage turns black plastic gray and brittle.
If you park outside, use a breathable car cover during long periods of non-use. Inside, remove trash regularly and vacuum weekly. Small habits prevent big problems. If you notice bird droppings or tree sap, remove them immediately with a quick detailer spray. These substances eat into clear coat within hours, causing permanent etching.
Can I use household cleaners for auto detailing?
It’s best to avoid them. Household cleaners often contain harsh chemicals like ammonia or bleach that can strip wax, dry out rubber seals, and discolor interior fabrics. Automotive-specific products are formulated to be safe for clear coats, vinyl, leather, and plastics while providing effective cleaning power.
How long does full auto detailing take?
A basic exterior and interior clean might take 2-4 hours. However, if you include decontamination, paint correction, and multiple layers of protection, expect to spend 8-15 hours over a weekend. Professional shops may charge more due to the specialized equipment and expertise required for efficient execution.
Is ceramic coating worth it for a daily driver?
Yes, if you value easier maintenance. Ceramic coating makes washing faster because dirt doesn’t stick as easily, and water beads up dramatically. While it doesn’t make the car scratch-proof, it significantly reduces the frequency of deep cleans needed and protects against UV fading and chemical staining better than traditional waxes.
What is the difference between car wash and detailing?
A car wash focuses on removing loose dirt and grime from visible surfaces, usually taking 15-30 minutes. Detailing is a comprehensive restoration process that includes deep cleaning of interiors, engine bays, and wheels, plus paint decontamination and protection. Detailing aims to restore the vehicle to near-showroom condition, whereas a car wash simply maintains cleanliness.
How often should I clay bar my car?
Perform a tactile test by rubbing your palm over the washed paint. If it feels smooth, you don’t need to clay. If it feels gritty, contaminants are present. Typically, this needs to be done once or twice a year, depending on your environment. Cars parked under trees or near industrial areas may require more frequent decontamination.