Custom Car Seat Project Planner
Project Steps
Select a step to begin
Required Tools/Materials:
Safety & Quality Checklist:
💡 Pro Tip
Start with a non-critical component like a headrest cover to practice your stitching techniques before tackling the main seat.
Have you ever sat in a stock car seat and thought, "This just doesn't fit me"? Maybe the sidebolsters dig into your hips, or the foam has collapsed after five years of daily driving. You aren't alone. Factory seats are designed for the average body type, which is a statistical concept that rarely matches reality. If you are tall, short, wide, or simply have unique style preferences, off-the-shelf options might not cut it.
The good news? Yes, you can make custom car seats. Whether you want to rebuild an existing bucket seat with new foam and leather or fabricate a bespoke racing seat from scratch, the process is entirely within reach for a determined DIYer-or easily outsourced to a specialist. But before you grab your staple gun, there are safety regulations, material choices, and structural realities you need to understand.
Understanding the Anatomy of a Car Seat
To build or modify a seat, you first need to know what you are working with. A car seat is a complex assembly of structural frames, energy-absorbing foam, and protective upholstery. It isn't just a cushion on a metal pan.
Most modern seats consist of three main layers:
- The Frame: Usually made of stamped steel or aluminum. This holds the adjustment mechanisms (sliders, recliners) and anchors the seat to the floor via BOLT patterns.
- The Foam Core: High-density polyurethane foam provides comfort and support. Cheap seats use low-density foam that sags quickly; high-end seats use multi-density foam for targeted support.
- The Upholstery: The visible layer-fabric, vinyl, or leather-that protects the foam and gives the seat its look.
If you are making a custom seat, you must decide whether you are modifying an existing frame or building a new one. Modifying is easier and cheaper. Building from scratch requires welding skills and knowledge of crash dynamics.
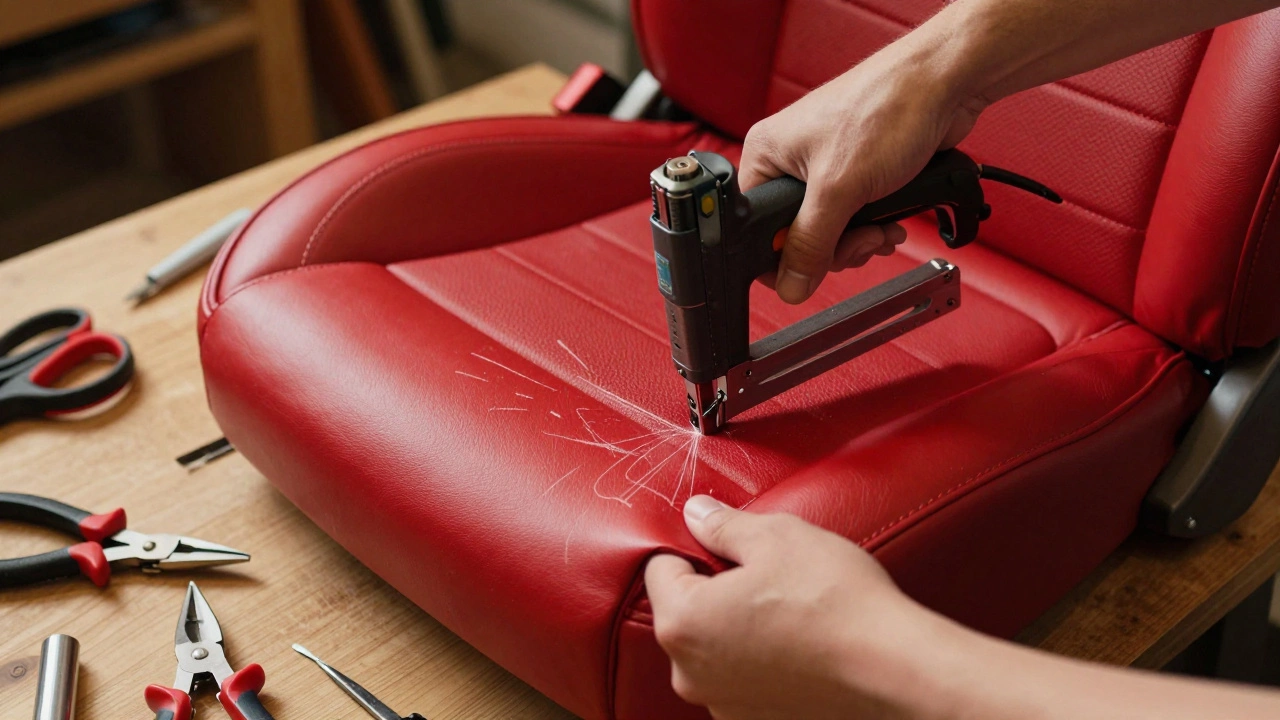
Option 1: Reupholstering Existing Seats
This is the most common entry point for custom work. You keep the factory frame and foam but replace the cover. This is ideal if your seats are structurally sound but worn out or ugly.
Here is how you approach it:
- Remove the Seat: Unbolt the seat from the floor. Disconnect all electrical connectors for heated seats, airbags, or power adjustments. Take photos before disconnecting anything!
- Strip the Cover: Remove staples, clips, or zippers holding the old fabric. Be careful not to tear the foam underneath.
- Inspect the Foam: If the foam is sagging, you can add a layer of high-density foam on top. This is called "foam boosting" and can revive an old seat without replacing the entire core.
- Measure and Cut: Lay your new material over the seat. Use chalk to mark cutting lines. Leave extra material for seams and tucking.
- Reattach: Use heavy-duty staples or specialized automotive clips. Pull the material tight to avoid wrinkles.
Pro Tip: If your car has side-airbags, do NOT attempt to reupholster those sections yourself unless you are certified. Airbag covers have specific deployment paths. Blocking them can be deadly in a crash. Buy pre-cut airbag-compatible kits or leave those panels untouched.
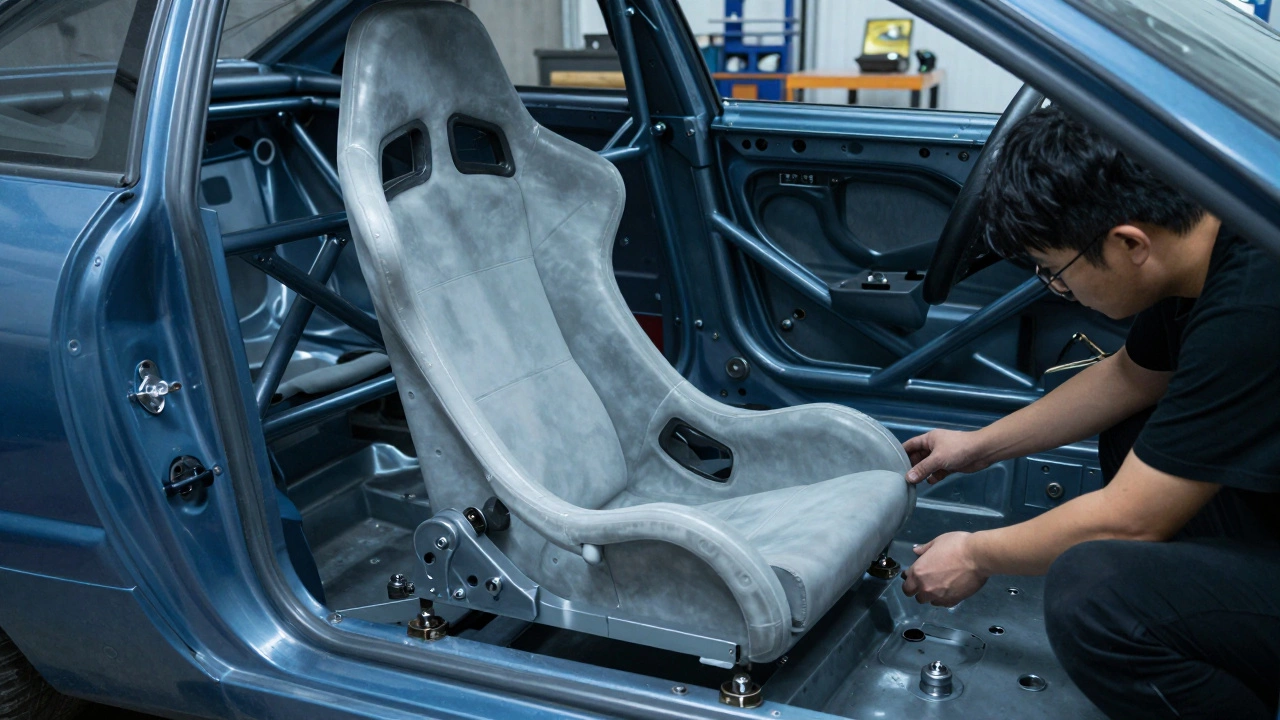
Option 2: Fabricating Bespoke Racing Seats
If you want a seat tailored to your exact body dimensions, you might consider building a custom racing-style seat. This involves creating a new shell and mounting it to a universal slider base.
Racing seats are specialized seats designed for high-G environments, featuring rigid shells and deep sidebolsters. They prioritize lateral support over long-distance comfort.
Steps to build a basic custom shell:
- Choose the Material: Fiberglass is lightweight and easy to mold. Carbon fiber is stronger but expensive and harder to work with. Aluminum tubing frames wrapped in foam are also popular for durability.
- Create a Mold: Use clay or foam blocks to sculpt the shape around a mannequin or even your own body (if you can hold still!). Once satisfied, create a negative mold using silicone rubber.
- Lay Up the Shell: Apply fiberglass matting and resin into the mold. Let it cure fully.
- Add Padding: Attach high-density foam to the back and bottom of the shell. Wrap it in stretch mesh to keep it smooth.
- Mount to Sliders: Weld or bolt universal S-rail sliders to the bottom of your custom shell. Ensure the mounting points align with your car’s floor bolts.
Warning: Custom-built seats may not meet local safety standards. In Australia, for example, modified vehicles must comply with Australian Design Rules (ADRs) are regulations governing vehicle safety and emissions in Australia. If your seat lacks proper anchorage or headrest integration, it could fail inspection. Always check with your local Department of Transport.
Material Choices: What Should You Use?
The feel and durability of your custom seat depend heavily on materials. Here is a breakdown:
| Material | Durability | Comfort | Cost | Best For |
|---|---|---|---|---|
| Genuine Leather | High | Moderate (can get hot/cold) | $$$ | Luxury builds, classic cars |
| Vinyl/Synthetic Leather | Very High | Moderate | $ | Budget builds, easy cleaning |
| Alcantara/Suede | Moderate | High (grippy) | $$ | Sporty interiors, steering wheels |
| Cloth/Fabric | Low-Moderate | High (breathable) | $ | Daily drivers, family cars |
If you live in a hot climate like Adelaide, leather might become uncomfortable in summer. Alcantara offers great grip and breathes better, but it stains easily. Consider your lifestyle before buying materials.
Safety and Legal Considerations
This is the part most DIYers skip, but it shouldn’t be ignored. Your seat is part of your car’s restraint system. If it fails in a crash, you are injured-not because of the impact, but because your seat broke.
Key safety rules:
- Anchorage Points: Never weld new mounting holes without reinforcing the floor pan. Weak mounts can rip out during emergency braking.
- Headrests: If you remove the original headrest, you must install a replacement that meets height and distance requirements. Whiplash injuries are no joke.
- Airbags: As mentioned, never interfere with side-airbag deployment zones. If you are unsure, consult a professional upholsterer who specializes in airbag-integrated seats.
- Inspection: In many jurisdictions, including South Australia, significant interior modifications may require a statutory declaration or inspection. Check with ServiceSA or equivalent bodies.
When to Hire a Professional
DIY is rewarding, but some jobs are better left to experts. Consider hiring a pro if:
- You need to integrate complex electronics (power lumbar, heating, ventilation).
- Your car has integrated side-curtain airbags in the door pillars that interact with the seat structure.
- You want a warranty on your workmanship.
- You lack tools like sewing machines, heat guns, or welding equipment.
Professional custom upholstery shops in Adelaide charge between $500-$2,000 per seat, depending on materials and complexity. While pricey, they ensure compliance with safety standards and deliver a showroom-quality finish.
Cost Breakdown: DIY vs. Pro
Let’s look at realistic costs for a two-seat project:
- DIY Reupholstery: $150-$300 for materials (fabric, foam, staples). Time investment: 10-20 hours.
- DIY Custom Build: $400-$800 for materials (fiberglass, resin, sliders, foam). Time investment: 30-50 hours.
- Professional Reupholstery: $600-$1,200 total.
- Professional Custom Build: $1,500-$3,000+ total.
If you value your time highly, going pro makes sense. If you enjoy tinkering and want to save money, DIY is feasible-but be patient. Rushing leads to wrinkles, weak seams, and frustration.
Troubleshooting Common Issues
Even experienced builders face hurdles. Here are frequent problems and fixes:
- Problem: Wrinkles in the fabric.
Fix: Pull tighter during installation. Use a heat gun to shrink synthetic materials slightly for a snugger fit. - Problem: Foam feels too hard.
Fix: Add a thin layer of memory foam on top of the high-density core. Test small patches first. - Problem: Seat doesn’t fit the car.
Fix: Measure twice, cut once. Dry-fit the seat before final attachment. Adjust slider positions if needed. - Problem: Staples pull through fabric.
Fix: Use wider staples or reinforce the edge with webbing tape before stapling.
Next Steps for Your Project
Start small. If this is your first time, try reupholstering a single bench seat or a non-critical component like a headrest cover. Practice your stitching and stapling techniques on scrap material. Join online forums like Reddit’s r/CarDetailing or local Australian car clubs to share progress and ask questions.
Remember, custom car seats are about more than looks-they’re about comfort, safety, and personal expression. Take your time, respect the safety implications, and enjoy the process. Your next drive will feel significantly better when you’re sitting in a seat built just for you.
Can I legally install custom seats in my car in Australia?
Yes, but they must comply with Australian Design Rules (ADRs), particularly regarding anchorage strength and headrest positioning. Modified vehicles may require inspection by ServiceSA or similar state authorities. Always ensure airbag systems remain functional.
How much does it cost to reupholster car seats?
DIY reupholstery costs $150-$300 for materials. Professional services charge $600-$1,200 for a pair of seats, depending on fabric choice and complexity. Luxury materials like genuine leather increase costs significantly.
Is it safe to build a custom racing seat at home?
Only if you follow strict safety guidelines. Use certified sliders, reinforce mounting points, and never compromise airbag deployment zones. Homemade seats may not pass official inspections unless engineered to meet ADR standards.
What materials are best for custom car seats?
Genuine leather offers luxury and durability. Vinyl is budget-friendly and easy to clean. Alcantara provides superior grip and breathability. Cloth is comfortable and affordable but less durable. Choose based on climate, usage, and budget.
Do I need special tools to reupholster car seats?
Basic tools include a staple gun, pliers, screwdrivers, and scissors. For advanced projects, you’ll need a sewing machine, heat gun, and possibly welding equipment. Many tasks can be done with household tools if you’re patient and precise.