Wheel Spacer Safety Assessment
Enter your setup specifications below. This tool analyzes potential risks based on industry safety standards discussed in the guide.
Safety Status
Analysis:
- Material Strength Verified
- Hub Alignment Correct
- Thread Engagement Good
Is a 1 Inch Wheel Spacer Safe?
Quick Summary
- Yes, 1-inch wheel spacers are safe if they meet strength standards and fit your vehicle correctly.
- The biggest risk comes from using cheap, un-machined steel instead of aerospace-grade aluminum.
- You must use extended lug nuts designed specifically for spacers.
- Hub-centric design prevents vibration, which lip-centric units cannot guarantee.
Here is the straight answer: A 1-inch wheel spacer can be completely safe, but only under specific conditions. If you walk into a random shop and grab a budget set off the shelf, you might be gambling with your safety. But if you understand how these pieces interact with your car, you can enjoy the benefits-like better stability or tire clearance-without fear.
Many drivers worry about whether adding metal between their wheel and hub will snap the bolts or strip the threads. Those concerns are valid when dealing with poor-quality parts. When we talk about safety here, we aren’t just guessing. We look at the engineering behind the hardware, the material properties, and how your suspension handles the added leverage. Let’s get into the details that matter.
Understanding the Material Strength
The foundation of spacer safety lies in the metal used to build them. Most high-quality spacers are made from 6061-T6 aluminum alloy. This isn’t just some random number stamped on a product page. 6061-T6 is a heat-treated grade of aluminum known for its excellent tensile strength and ability to handle stress loads without bending.
Contrast that with cheaper options often found online. These are frequently made from 35-series aluminum, sometimes referred to as cast or pot metal. While it might look identical, it doesn’t have the same structural integrity. Think of it like the difference between an aluminum soda can and an aircraft wing component. One crumples under pressure; the other holds its shape. If you are driving on rough roads in Australia, where gravel and corrugation are common, that material difference decides whether your wheel stays attached or rattles loose.
| Material Type | Tensile Strength | Safety Rating | Cost Expectation |
|---|---|---|---|
| 6061-T6 Aluminum | High (>400 MPa) | Safe for daily use | Moderate to High |
| Cast Steel | Moderate | Risk of snapping | Low |
| Lip-Made Metal | Unknown | Avoid | Very Low |
If the spacer fails, the consequences are catastrophic. It won’t just make noise; the wheel could detach while driving. Always look for manufacturers who state the exact hardness and material grade. If they hide behind vague terms like “premium metal,” move on. You want verifiable specifications.
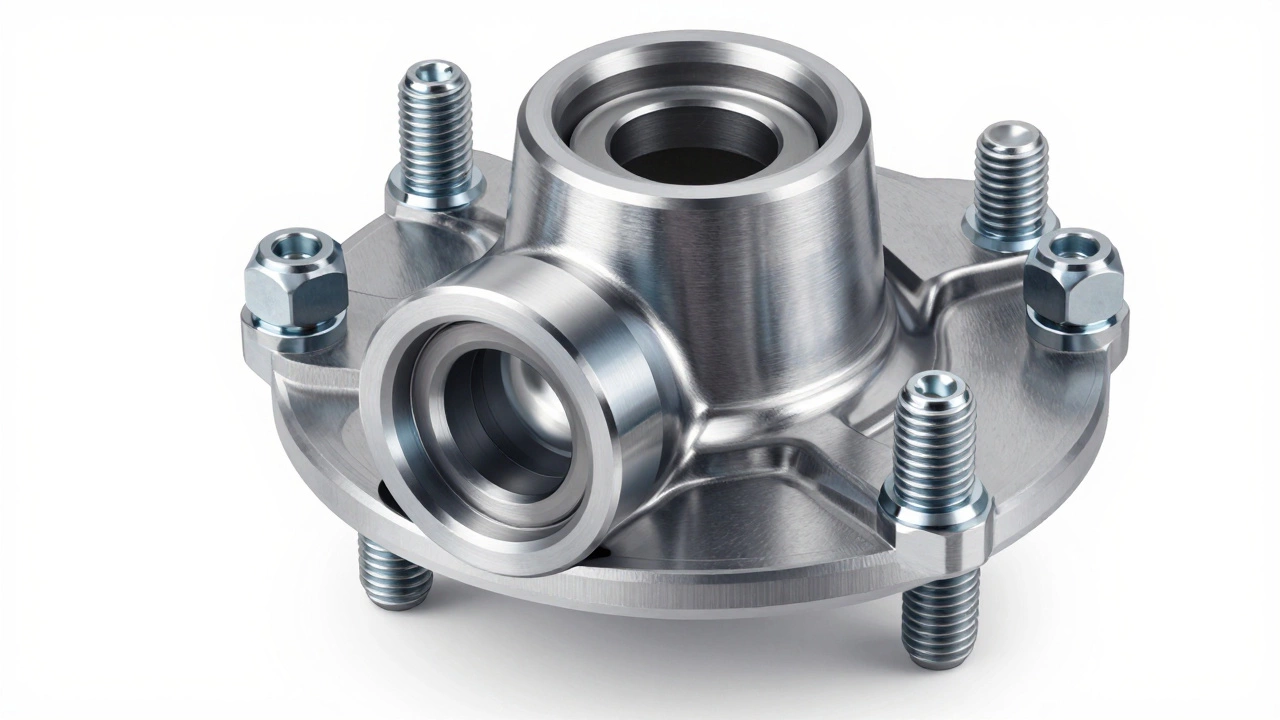
Hub-Centric vs. Lip-Centric Designs
This is the single most important technical detail that gets overlooked. Your wheel has a specific center hole size that slides over the hub on your axle. A hub-centric spacer includes a raised ring that sits precisely in the center hole of your wheel.
When this ring is present, your weight is carried by the contact between the hub and the spacer, not just the lug nuts. It acts as a perfect alignment tool. Without it, you rely on the conical seat of the lug nut to keep the wheel centered. That setup works fine normally, but once you add a spacer, tiny imperfections become magnified.
If you use a “lip-centric” spacer (one where the face is flush but lacks the inner ring), the wheel might wobble slightly at high speeds. This vibration travels directly up into the steering column and puts uneven stress on the bolt threads. Over time, this accelerates wear on your bearings and can loosen fasteners faster than expected. For a 1-inch gap, hub-centric is mandatory for a smooth, quiet ride.
The Hardware Connection: Studs and Threads
Installing spacers introduces a mechanical chain extension problem. Your original wheel studs are manufactured to a specific length based on the assumption that nothing will sit between the hub and the wheel. Adding a 1-inch thick piece of metal adds exactly one inch of distance.
Here is where accidents happen. If you try to thread your stock lug nuts onto the original studs through the spacer, they won’t engage enough threads. You need the nut to grab at least five or six full threads to hold the clamping force safely. If you only have two or three threads engaging, the nut can vibrate itself loose, leading to wheel detachment.
There are two ways to solve this:
- Bolt-On Spacers: These have factory-sized studs welded or machined into the back of the spacer. You bolt the spacer to the car, then bolt the wheel to the spacer.
- Extended Hardware: You replace your original studs with longer ones, or buy matching long-lug nuts that reach down past the spacer to grip the original threads.
Whichever method you choose, you must verify that the threads are fully engaged. Never assume the hardware included in a cheap kit is sufficient. Buy the hardware separately from a trusted automotive supplier if necessary. In many markets, including Australia, you can find stud extenders designed specifically for this purpose.
Impact on Suspension Geometry
Adding width changes the physics of how your car moves. Moving the contact patch of the tire outwards by 1 inch actually increases the track width of the vehicle. For a daily driver, this effect is minimal, and often beneficial as it improves cornering stability by reducing the roll center height slightly.
However, if you lower your suspension significantly, spacers might push the tire further out, potentially causing rubbing against the fender liners or suspension arms during hard turns. Before buying, measure the clearance. Put the car on ramps or a lift, turn the wheels fully left and right, and check where the tread touches relative to the bumper line. If you are running off-road vehicles with articulation, be aware that moving the wheel outward widens the scrub radius, which might make steering heavier or change how the car pulls when the brakes are applied.
Corrosion and Longevity Issues
In coastal environments like Adelaide, salt and humidity are enemies of metal interfaces. When you place an aluminum spacer between a steel hub and a steel wheel, you create a dissimilar metal environment. Moisture trapped between these metals creates an electrolytic cell, leading to galvanic corrosion.
This rust builds up over years. Eventually, the wheel might seize to the spacer. When you finally go to change a tire, the wheel refuses to spin off. You might end up needing cutting torches or hydraulic rams to remove the rim later. To prevent this, ensure your spacer has a protective coating or zinc plating. Some users even apply a thin layer of grease to the mating surfaces before assembly. It sounds minor, but it saves hours of nightmare maintenance down the track.
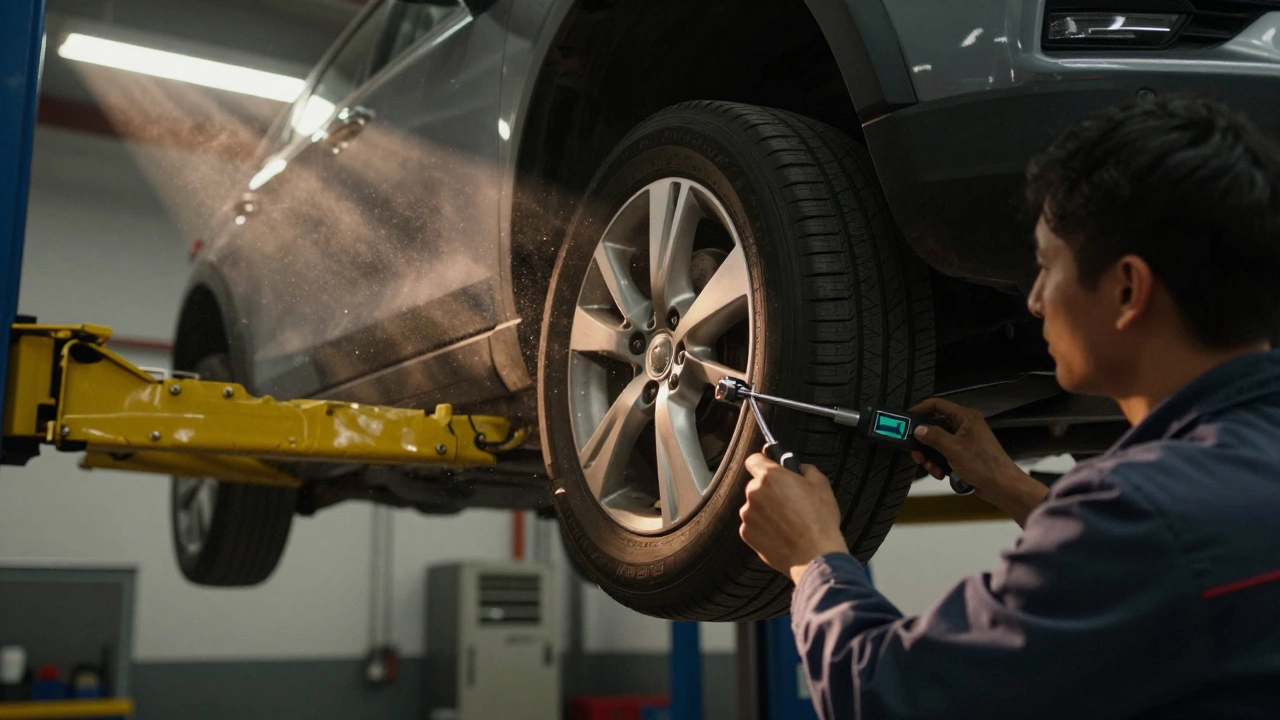
Installation and Torque Procedures
Safety isn’t just about the part; it’s about how you install it. Improper torque is a leading cause of failure with modified wheels. With spacers, the tension required to clamp the nut might feel different compared to the stock setup.
Use a calibrated torque wrench. Follow the manufacturer’s recommended settings for your specific vehicle. Often, when installing spacers, you tighten everything in a star pattern. Tightening straight across can distort the seating surface. After you have installed them, drive about 50 kilometers and re-check the torque settings. Thermal expansion during driving combined with road shock can settle the components, requiring a second tightening pass to ensure maximum holding power.
Summary and Final Verdict
A 1-inch wheel spacer is safe when executed correctly. The danger lies in cutting corners on materials, skipping the hub-centric feature, or neglecting the extra hardware needed for thread engagement. By choosing certified 6061-T6 aluminum, ensuring the correct hub diameter, and using proper torque procedures, you gain the benefits of improved stance and tire fitment without compromising your safety.
Will wheel spacers void my warranty?
Generally, adding spacers does not automatically void your entire vehicle warranty, but it may impact claims related to suspension or wheel bearing failures. Manufacturers argue that the added leverage increases stress on these parts. Keep receipts for high-quality spacers to prove they meet safety standards if you dispute a claim.
How much do good spacers cost?
High-quality hub-centric spacers typically range from $30 to $80 per wheel depending on the brand and finish. Avoid sets priced under $20, as they are almost certainly made from inferior materials that pose a safety risk.
Can I mix spacer types on the same car?
No. You must use a uniform set on all four corners. Mixing thicknesses changes the handling balance and can cause instability. Ensure all four wheels have identical offset and tracking characteristics for predictable handling.
Are wheel spacers illegal in Australia?
They are generally legal as long as they do not exceed the vehicle’s designated track width significantly or expose parts beyond the bodywork in a way that affects compliance. Regulations vary by state, so check local laws regarding lighting and mud flaps.
Do spacers damage wheel bearings?
A thin 1-inch spacer places minimal extra load. Thick spacers (over 1.5 inches) increase the cantilever arm effect significantly, accelerating bearing wear. Stick to smaller thicknesses to minimize risk to your suspension components.