Body Kit Installation: Everything You Need to Know
When tackling body kit installation, the process of fitting aftermarket body panels to a vehicle. Also known as body kit fitment, it combines mechanical skill with a keen eye for style. Proper installation not only transforms your car’s look but also preserves safety and durability.
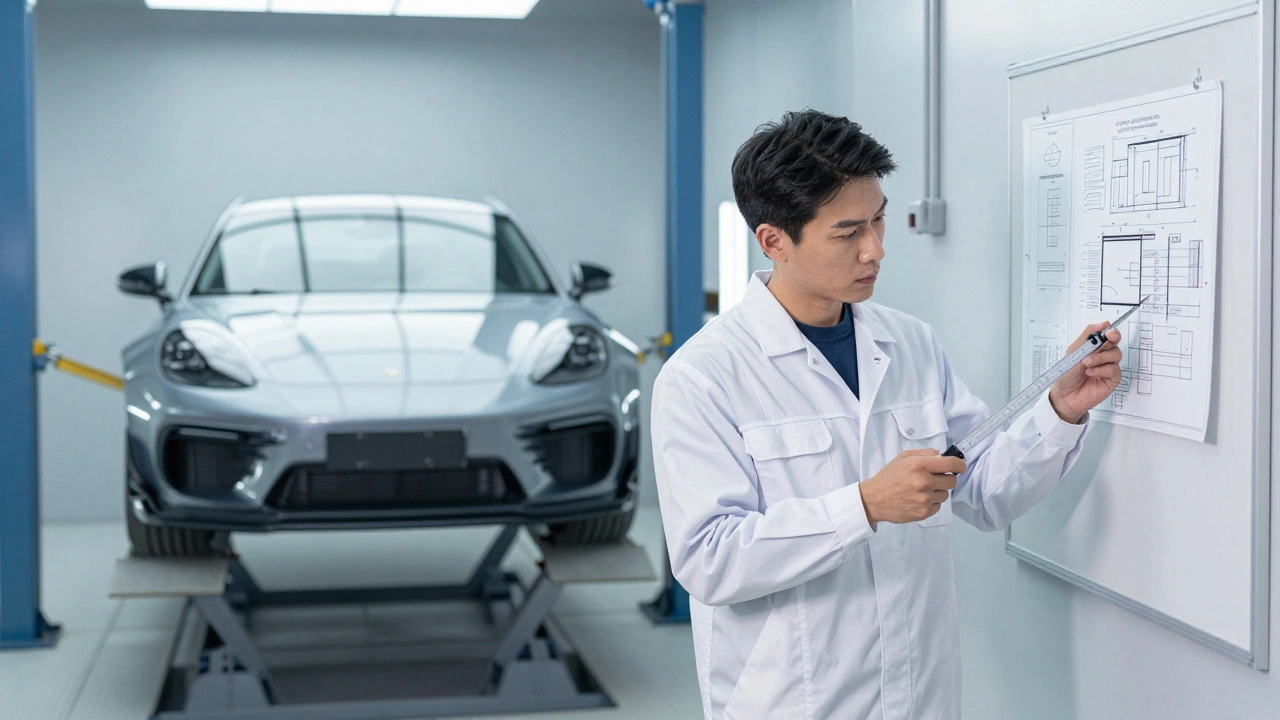
Understanding the body kit, a collection of front bumper, side skirts, rear diffuser and spoiler designed to enhance aerodynamics and aesthetics is the first step. These components are often made from fiberglass, carbon fiber or ABS plastic, each offering different weight and finish options. Choosing the right material influences both visual impact and performance; for instance, carbon fiber reduces weight while fibreglass offers easier DIY shaping. When you match a kit to your car’s existing line, you unlock the full potential of car styling, the art of customizing a vehicle’s appearance to reflect personal taste and current trends. Styling isn’t just about looks—well‑designed kits can improve downforce and reduce drag, benefiting handling.
Tools, Prep, and Techniques for a Smooth Fit
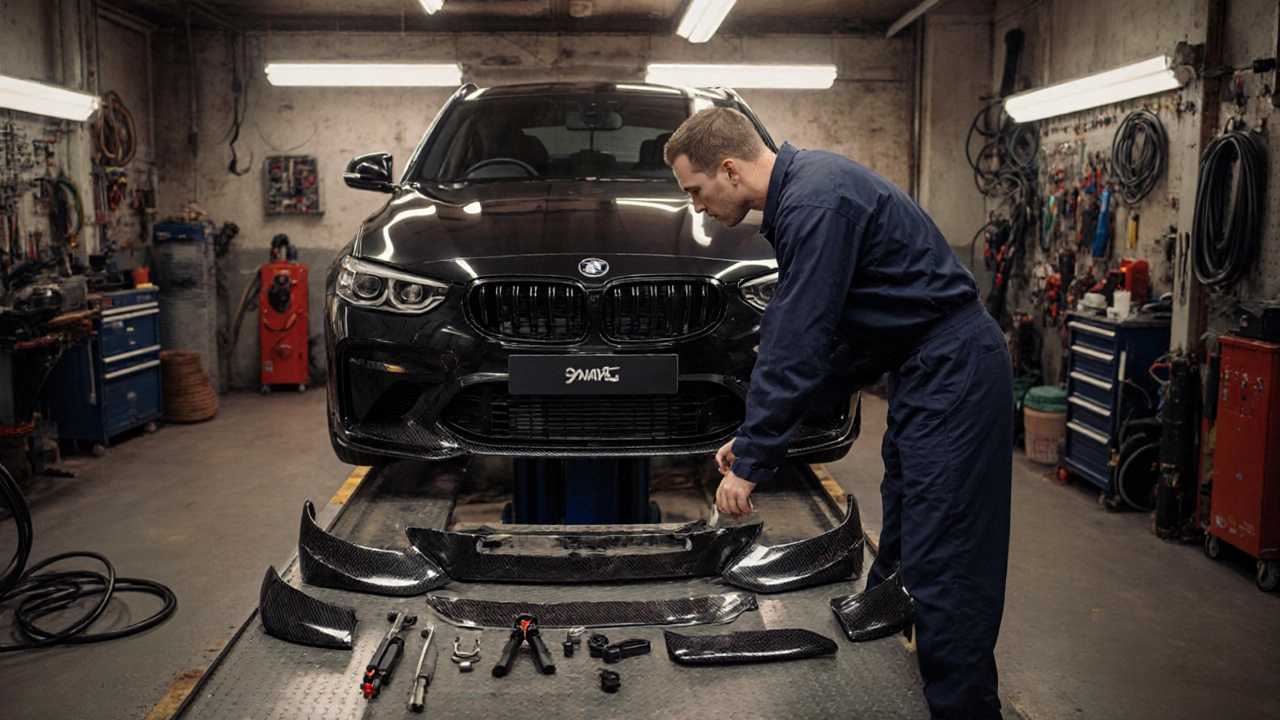
Successful body kit installation hinges on the right installation tools, equipment like torque wrenches, drill bits, masking tape, and adhesive applicators needed for mounting kits. Start with a clean workspace and remove factory panels carefully to avoid damage. A torque wrench ensures bolts are tightened to manufacturer specs, preventing cracked clips or warped panels. When using adhesives, apply a thin, even coat of automotive-grade sealant to eliminate water ingress and vibration chatter. Many DIYers also use a heat gun to soften thermoplastic kits for a snug fit before cooling.
Safety and legal compliance are often overlooked, but they’re just as vital as the visual outcome. Different regions have specific regulations regarding frontward extensions, bumper height, and reflector placement. Checking local laws before you cut or trim saves you from costly rework or fines. For example, in certain states a front bumper may not extend more than a set distance beyond the original line, while rear diffusers must maintain a minimum clearance from the ground. Keeping a record of your kit’s specifications and installation torque values can also help when proving compliance during inspections.
Once the physical fit is secure, finishing touches bring the whole project together. Align all panel seams, sand any rough edges, and apply primer followed by paint that matches your vehicle’s factory color or a custom hue. Clear coat protects the finish from UV rays, road salt, and stone chips. Finally, reinstall any removed hardware—like license plate brackets or fog lights—making sure they’re routed correctly to avoid electrical issues.
Below you’ll find a curated list of articles that dive deeper into each step of the process. From choosing the perfect kit material to mastering torque specifications, the posts cover everything you need to turn a simple upgrade into a lasting performance and style statement. Explore practical guides, safety checklists, and real‑world case studies that will help you avoid common pitfalls and achieve a professional result without the shop price tag.
Do Panel Beaters Install Body Kits? The Truth About Fitment, Risk, and Who to Call
Discover whether panel beaters can install body kits. Learn the differences between repair and customization, risks involved, and who you should actually hire for a professional finish.
Can a Mechanic Install a Body Kit? Everything You Need to Know
Find out if a regular mechanic can install a body kit, what skills and tools are needed, cost factors, and when to choose a specialist for a flawless fit.