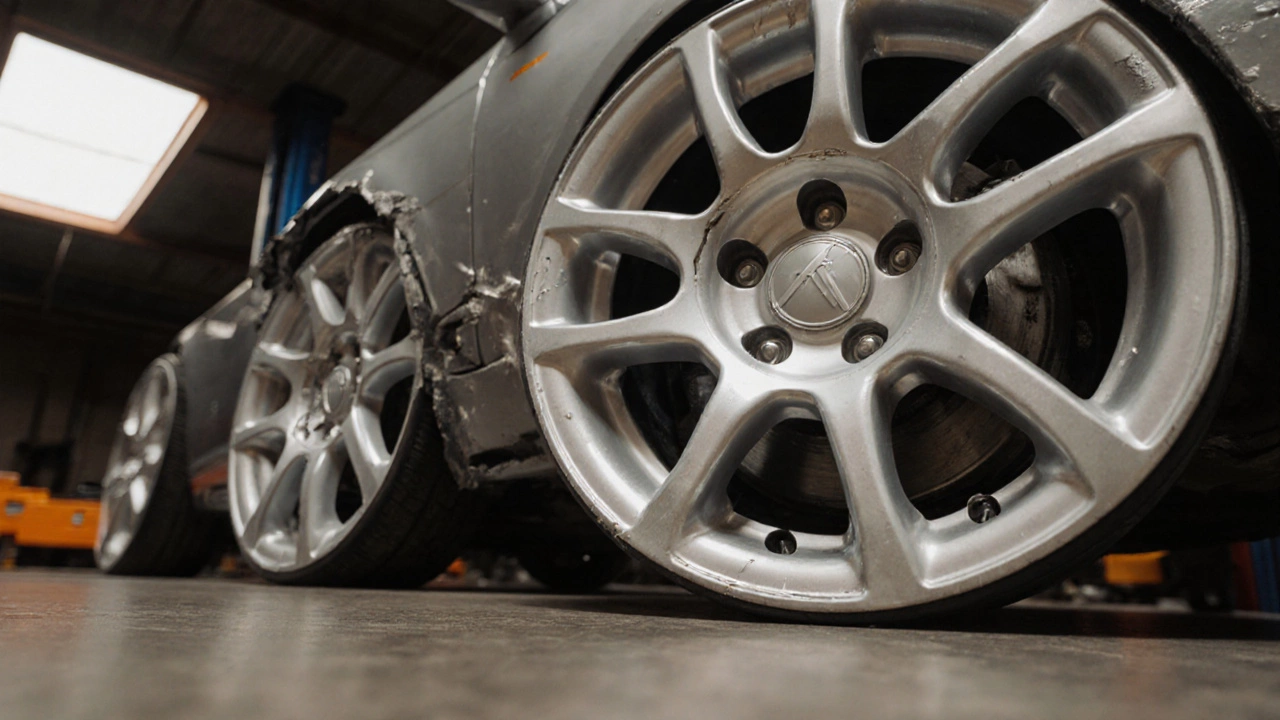
DIY Alloy Wheel Repair: How to Fix Curb Rash and Scratches Yourself
When working with DIY alloy wheel repair, the process of restoring dented or scratched alloy wheels using simple tools and materials. Also known as alloy wheel refurbishment, it lets owners bring back that showroom shine without a pricey shop visit. DIY alloy wheel repair encompasses everything from surface cleaning to final polishing, and it relies on a few key players. A good wheel repair kit, which typically includes sandpaper, filler, and masking tape, is the backbone of any successful project. Curb rash, the ugly scuff you see after hitting a curb, is the most common imperfection and requires careful sanding and filling before painting. Finally, wheel painting gives the wheel its final color and gloss, sealing the repair and protecting the metal from future damage.
Essential Tools, Materials, and Steps
First, you need to assess the damage. Small scratches can be sanded out with 400‑grit paper, while deeper gouges call for a two‑part epoxy filler. Once the surface is smooth, clean the wheel with a degreaser to remove brake dust and oil – this step is critical because any residue will ruin adhesion. Next, apply the filler, let it cure, then sand it back flush using progressively finer grits (800, then 1500). This progression creates a surface that mimics the original wheel finish. After sanding, apply a primer designed for alloy; the primer acts as a bridge between the metal and paint, improving durability. When the primer dries, spray on a high‑quality enamel or urethane paint in light, even coats. Finish with a clear coat to lock in the color and add a glossy layer that resists chips and UV damage.
Safety matters, too. Wear a mask and gloves to avoid inhaling dust, and work in a well‑ventilated area to let fumes escape. Balance your wheels after the repair – an uneven wheel can cause vibration at higher speeds, so a quick spin check on a flat surface or a professional balance check is worth the extra few minutes. Common mistakes include skipping the primer, using the wrong type of paint, or over‑filling a dent, which leads to a bumpy spot that shows up when you drive. By following the steps above, you’ll avoid those pitfalls and end up with wheels that look as good as new.
Now that you know the basics, the articles below dive deeper into each part of the process. Whether you need a guide on selecting the right wheel repair kit, tips for tackling stubborn curb rash, or advice on achieving a flawless paint finish, the collection is packed with practical insights to help you master DIY alloy wheel repair.
DIY Alloy Wheel Repair: Step‑by‑Step Guide
Learn how to fix bent rims, curb rash, and small cracks on alloy wheels yourself with step‑by‑step instructions, tools, safety tips, and a DIY vs professional comparison.