Alloy Wheel Repair Cost Calculator
Choose Your Damage Type
Do You Have the Right Tools?
Repair Cost Comparison
DIY Repair
$0
Professional Service
$0
Important: This calculator shows cost estimates only. Professional repairs include safety checks and warranty coverage.
When you spot a nick, bend, or crack on your set of Alloy Wheel is a lightweight, high‑strength wheel made from an aluminum‑based alloy that offers better handling and looks sleek, the first reaction is often “I’ll just throw it to a garage.” But in many cases you can tackle the problem yourself, save money, and keep the car looking fresh. This guide walks you through the most common damage types, the tools you’ll need, safety precautions, and the exact steps to repair dents, curb rash, and even small cracks - all without compromising wheel integrity.
What Kind of Damage Can You Actually Fix?
- Bent rim: Usually caused by hitting a pothole or curb. The wheel may wobble at speed.
- Curb rash: Scrapes that remove the clear coat and expose the alloy.
- Hairline crack: Small fissures near the bead or spoke area.
- Corrosion spots: Oxidation that can be polished out.
Structural cracks that run deep into the spokes, severe bends that distort the rim shape, or damage to the wheel’s hub mounting surface are best left to professionals. Attempting a DIY fix on those can jeopardize safety.
Safety First: Gear and Precautions
- Wear safety glasses and gloves - alloy dust and sharp edges are common.
- Work in a well‑ventilated area; fumes from epoxy or paint can be hazardous.
- Secure the wheel on a sturdy workbench using a wheel straightening kit or a bench‑mounted jig.
- Never use excessive force; the alloy can crack under sudden impact.
Essential Tools for a DIY Fix
- Rubber mallet - gentle taps to pop small dents.
- Long‑reach bending machine or a hinged straightening tool - for correcting bends.
- Epoxy filler (high‑temperature rated) - fills hairline cracks.
- Sandpaper (320‑ to 2000‑grit) - smooths out cured filler.
- Automotive primer and clear coat spray - restores the finish.
- Torque wrench - ensures lug nuts are re‑torqued correctly.
- Wheel balancer - checks for any residual wobble after repair.
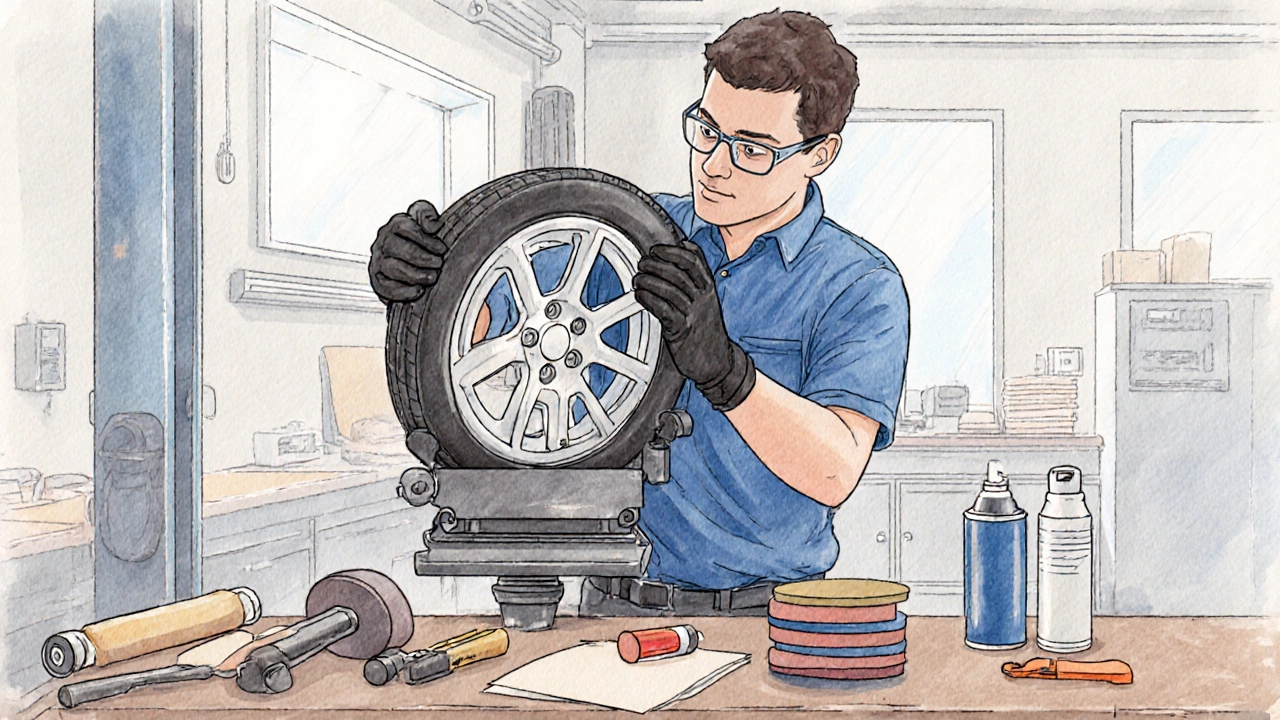
Step‑by‑Step Repair Process
1. Diagnose the Issue
Spin the wheel on a bench‑mounted stand and watch for wobble. Use a straight edge (a long level works well) against the rim to spot bends. For cracks, shine a flashlight around the spokes and look for fine lines.
2. Remove the Wheel
Loosen lug nuts with a cross‑pattern, lift the car with a jack, and remove the wheel. Keep the nuts aside in the order you took them off - it helps when you reinstall.
3. Fix a Bent Rim
- Place the wheel on the straightening jig, aligning the dent with the tool’s pivot point.
- Gently apply pressure using the bending machine until the rim reads flat against the straight edge.
- If the bend is stubborn, tap around the dent with a rubber mallet while supporting the opposite side.
4. Repair Curb Rash
- Sand the damaged area with 320‑grit to remove loose paint.
- Clean with a solvent wipe, then apply a thin coat of automotive primer.
- After the primer dries, spray the matching clear coat in light passes.
- Polish with 2000‑grit sandpaper and a polishing compound for a glossy finish.
5. Seal Hairline Cracks
- Clean the crack with an alcohol wipe to remove dirt.
- Mix the high‑temp epoxy according to the manufacturer’s ratio.
- Inject the epoxy into the crack using a small syringe or a toothpick.
- Let it cure for the recommended time (usually 30‑60 minutes).
- Sand the cured epoxy smooth, then paint over it to match the wheel finish.
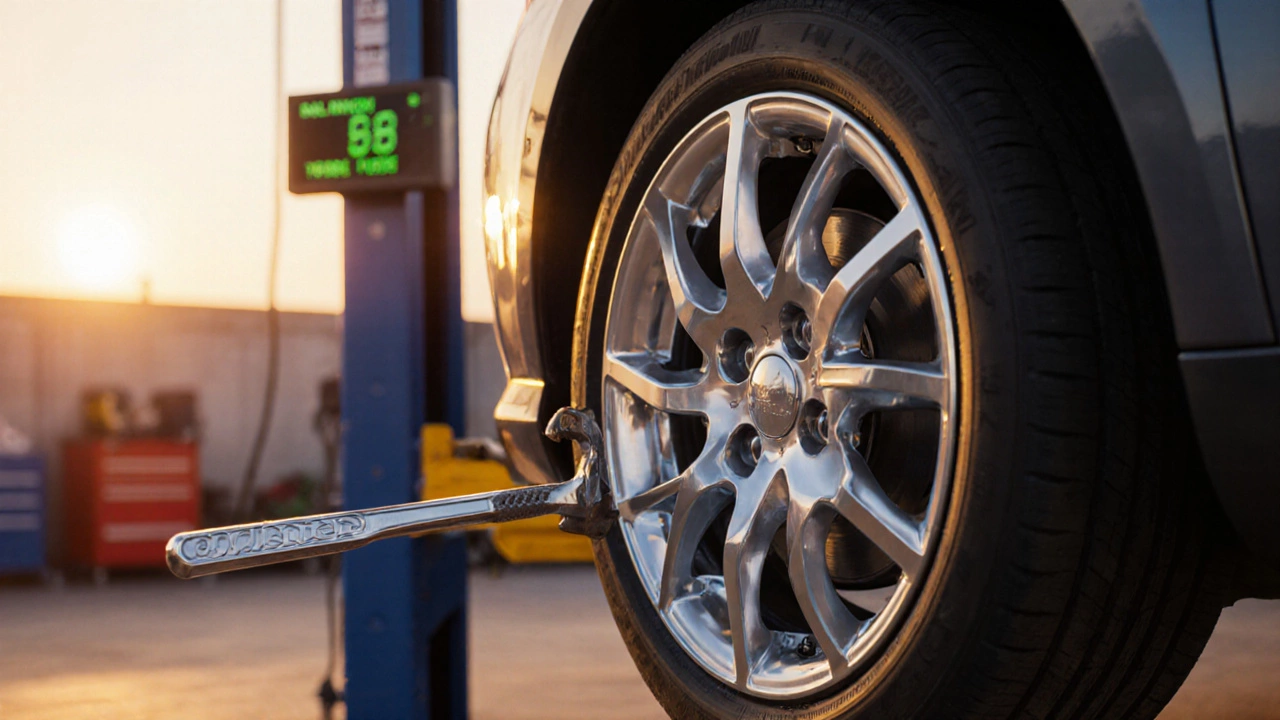
6. Re‑mount and Balance
- Place the wheel back on the hub, hand‑tighten lug nuts in a star pattern.
- Lower the car, then torque the nuts to the vehicle’s specification (usually 90‑110Nm for passenger cars).
- Run the wheel through a balancer. If you still see wobble, double‑check the straightening step.
DIY vs. Professional Repair: Quick Comparison
| Aspect | DIY | Professional |
|---|---|---|
| Cost | ~$30‑$80 for tools + materials | $120‑$250 per wheel |
| Time | 2‑4hours (depends on damage) | Same‑day or 2‑day turnaround |
| Quality | Good for minor dents and surface damage | Factory‑grade straightening and welding |
| Risk | Potential for over‑bending if not careful | Minimal; backed by warranty |
| Tools Required | Basic hand tools, epoxy, sandpaper, spray paint | Specialized CNC straightening, wheel‑balancing rigs |
Common Pitfalls and How to Avoid Them
- Over‑tightening the mallet: Use gentle taps; a strong blow can crack the rim.
- Skipping the balance check: Even a perfectly straight rim can be out of balance after a repair.
- Using the wrong epoxy: Choose a high‑temperature, metal‑compatible epoxy; regular household glue won’t hold under brake heat.
- Neglecting rust removal: Any corrosion left under paint will spread, ruining the finish.
When to Call a Pro
If you notice any of the following, stop the DIY attempt and head to a reputable wheel shop:
- Cracks longer than 2cm or that extend into a spoke.
- Severe bends that cause the rim to contact the tire sidewall.
- Damage to the wheel’s mounting flange or hub bore.
- Unusual noises after re‑mounting that persist despite balancing.
Maintenance Tips to Keep Your Wheels Healthy
- Inspect wheels weekly for new chips or bends.
- Clean with mild soap and a soft brush; avoid abrasive pads that can damage the finish.
- Apply a protective wheel sealant every 3‑4months.
- Avoid harsh cornering on pothole‑prone roads when possible.
TL;DR
DIY alloy wheel repair is feasible for minor bends, curb rash, and small cracks if you have the right tools, follow safety steps, and double‑check balance. For serious structural damage, let a professional handle it.
Frequently Asked Questions
Can I repair a cracked alloy wheel at home?
Small hairline cracks can be filled with high‑temperature epoxy, sanded, and painted. Bigger cracks that run through the spokes need welding or replacement, which should be done by a professional.
What is the cheapest way to fix curb rash?
Buy a basic sanding kit (320‑2000grit), a small can of primer, and a clear‑coat spray. With a little patience you can restore the finish for under $30.
Do I need to re‑balance wheels after repairing a bend?
Yes. Even a slight bend changes the wheel’s mass distribution. Run the wheel through a balancer before putting it back on the car.
Is a rubber mallet safe for straightening dents?
For minor dents, a rubber mallet is ideal because it delivers force without marring the alloy. Use gentle taps and always support the opposite side.
How often should I check my wheels for damage?
A quick visual check every few weeks is enough. After hitting a pothole or curb, inspect immediately for bends or cracks.