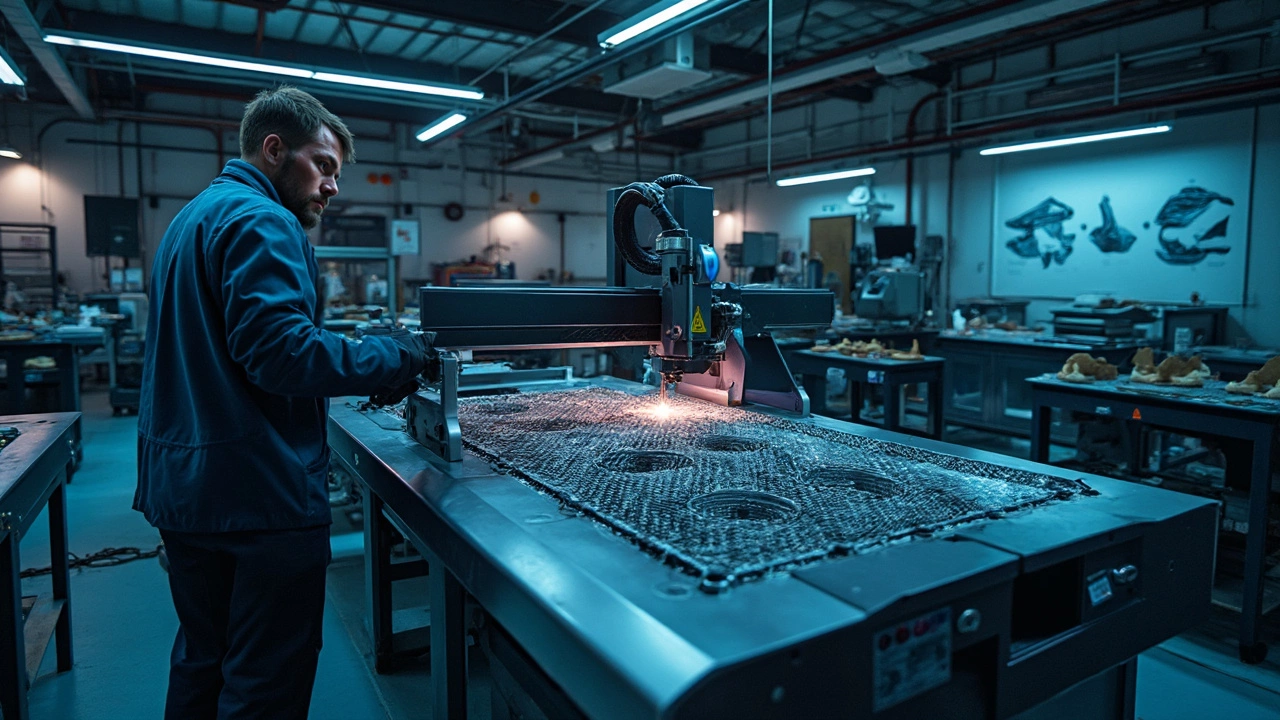
Laser Cutting for Car Styling: Easy DIY Guide
Ever wonder why some cars look like they belong in a showroom while others just sit there? A lot of that comes down to the little details – badges, grills, interior trims – and you can make those details yourself with laser cutting. It’s fast, precise, and you don’t need a huge workshop to get started.
Laser cutters use a focused beam to slice through metal, acrylic, wood, and more. The result is a clean edge that would take hours with a hand tool. For car lovers, that means you can create custom emblems, replace a cracked badge, or add a unique pattern to a shift knob without ordering expensive OEM parts.
Why Laser Cutting Is a Game Changer
First off, laser cutting is super accurate. You upload a simple vector file, set the power and speed, and the machine does the rest. That accuracy lets you fit parts exactly where they belong – no extra sanding or trimming.
Second, it saves money. A single sheet of 1mm aluminum can produce dozens of tiny pieces, and the material cost is pennies per part. Compare that to buying a pre‑made badge that can cost $30 or more.
Third, you get creative freedom. Want a carbon‑fiber look on a steel piece? Use a laser to etch a pattern that mimics carbon weave. Need a logo that matches your favorite brand’s font? Design it on your computer and cut it in minutes.
Lastly, the process is clean. There’s no dust or debris like with a CNC mill, so you can work in a garage without a mess. Just remember to vent the exhaust fumes if you’re cutting plastics.
Getting Started with Laser Cutting at Home
Start with a small desktop laser cutter that can handle thin metal (usually up to 2mm) and acrylic. Popular models cost a few hundred dollars and come with safety features like an interlock door.
Choose the right material. For exterior parts, stainless steel or aluminum resists corrosion. For interior trims, acrylic or wood can look great and are easier to cut.
Design basics: use free software like Inkscape or a cheap CAD program. Keep your design simple – thin lines, no tiny details that the laser can’t reproduce. Export as SVG or DXF.
Safety first. Wear safety glasses, keep a fire extinguisher nearby, and never leave the cutter running unattended. The laser can ignite thin material in seconds.
When you’re ready to cut, test a small piece first. Adjust the power, speed, and focus until the edge looks clean and not overly burned. Once you’re happy, cut the full part.
After cutting, you may need to deburr the edges. A fine file or sandpaper does the trick. For metal, a quick pass through a magnetic tumbler can remove any tiny burrs.
Finally, attach your new piece. Use automotive‑grade adhesive, rivets, or screws depending on the location. Double‑check clearances so the part doesn’t rub against moving components.
With a little practice, laser cutting becomes a go‑to tool for any car project. Whether you’re fixing a broken badge or adding a personal touch, the technology puts professional‑grade results in your hands without the high price tag.
So grab a design, fire up the laser, and start turning ordinary car parts into something that truly reflects your style.

Can a 10W Laser Cut Carbon Fiber? Unpacking the Myths
Wondering if a 10W laser can tackle carbon fiber? It's not as simple as it sounds. The power and precision of the laser, along with the properties of carbon fiber, play critical roles. Whether you're in the spoiler-making business or just curious about laser cutting's capabilities, you'll want to know the ins and outs of how these elements interact. Get the lowdown on what's feasible and what's not.