Body Kit Cost Calculator
Cost Estimate
Based on Australian market prices from the article. Actual costs may vary depending on brand, installation complexity, and local labour rates.
Key Takeaways
- Modifying a car's body is legal in Australia if the work meets Australian Design Rules and passes a road‑worthy inspection.
- Start with a clear purpose-style, aerodynamics, or repair-so you choose the right parts and budget.
- Full kits are convenient, but mixing individual pieces can give a more unique look and often save money.
- DIY installation is doable for bolt‑on items; anything involving cutting, welding or structural changes should be handled by a certified shop.
- Keep documentation of all parts and receipts; you’ll need them when you register the vehicle or sell it later.
When you wonder can I modify my car body, the answer isn’t a simple yes or no-it depends on what you want to change, how you do it, and whether you stay within the law. This guide walks you through the whole process, from picking the right pieces to getting the final approval from South Australia’s road authority.
A car body kit is a collection of exterior parts-such as bumpers, side skirts, spoilers, and hoods-designed to alter the look and performance of a vehicle. Whether you’re after a sleek street‑ready stance or a track‑focused aerodynamic boost, understanding the components and the rules will save you time, money, and headaches.
Understanding Car Body Modification
Car body modification covers three main categories:
- Cosmetic changes - new bumpers, grille inserts, wraps, or vinyl skins that don’t affect the vehicle’s structure.
- Aerodynamic upgrades - spoilers, splitters, diffusers, and carbon‑fiber wings that tweak airflow for better downforce or reduced drag.
- Structural alterations - widening arches, custom fenders, or reinforced frames that change the chassis dimensions.
Each type has different legal implications, so it’s worth sorting them early on.
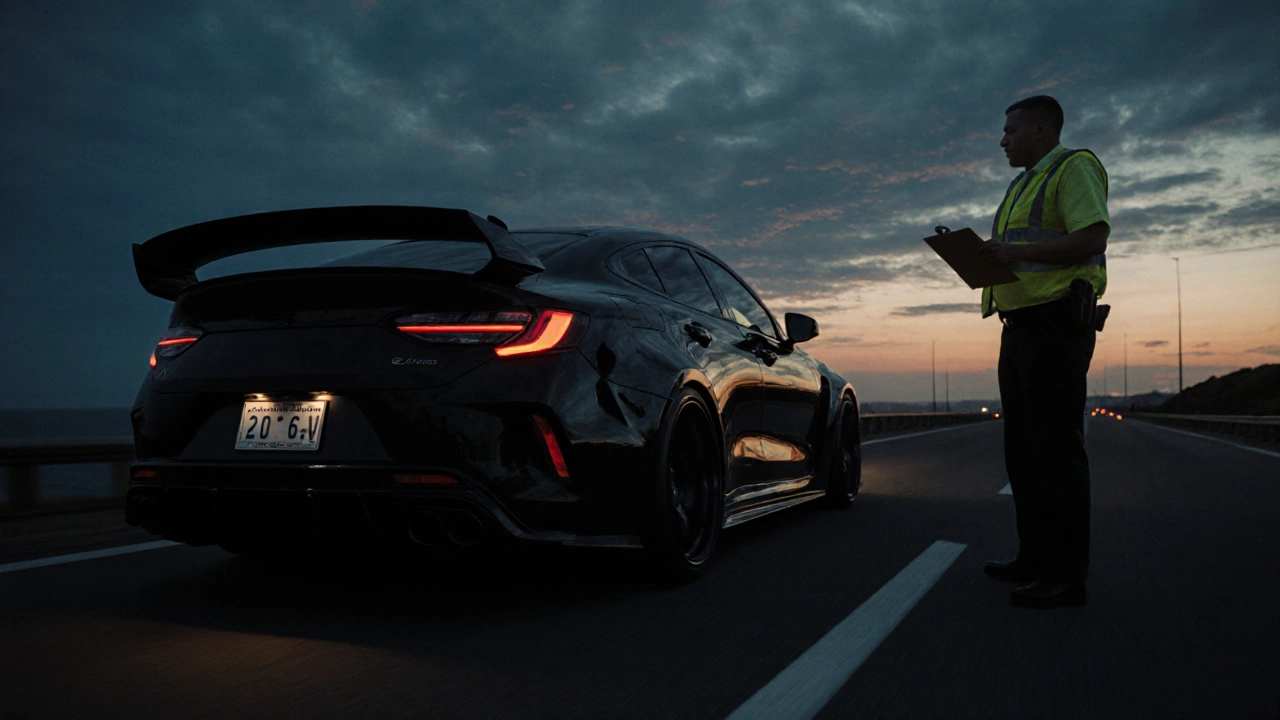
Legal Landscape in Australia
The key documents you’ll bump into are the Australian Design Rules (ADR) and your state’s Roadworthy Certificate. In South Australia, the Department for Infrastructure and Transport (DIT) handles the inspections.
Here’s what you need to keep in mind:
- ADR compliance: Any part that changes the vehicle’s dimensions, lighting, or safety features must meet the relevant ADR number. Most reputable body kits list the ADR compliance on the packaging.
- Fit‑and‑finish standards: The vehicle must still meet clear‑view, glare‑free, and impact‑resistance standards for headlights, taillights, and side markers.
- Registration: After installation, you’ll need to update the registration details if the vehicle’s width, length, or weight changes. Provide the DIT with invoices and, if required, a compliance plate attached to the modified part.
- Insurance impact: Notify your insurer of any modifications. Failure to do so can void a claim after an accident.
Skipping these steps can lead to fines or, worse, an order to revert the changes.
Planning Your Build
Before you buy a set of carbon‑fiber side skirts, answer these questions:
- What’s the primary goal? (e.g., stand‑out styling, better handling, or covering damage)
- How much are you willing to spend? (Full kits range from $1,500 to $6,000 in Australia; individual pieces can be cheaper)
- Do you have the tools and space for a DIY install?
- Will the modification affect resale value?
Sketch a simple budget table to keep track of parts, labor, and any additional fees (like registration updates).
Choosing the Right Parts
Below is a quick comparison of popular body‑kit materials:
| Material | Weight (kg per part) | Cost (AU$) | Durability | Typical Use |
|---|---|---|---|---|
| Fiberglass | 1.2-2.0 | 200-400 | Moderate | Entry‑level cosmetic kits |
| ABS Plastic | 0.8-1.5 | 300-600 | High (impact resistant) | OEM‑style replacements |
| Carbon Fiber | 0.5-0.9 | 800-2,000 | Very high (light & strong) | Performance‑oriented aero pieces |
| Aluminium | 1.0-1.8 | 600-1,200 | High (corrosion‑resistant) | Custom brackets, reinforced fenders |
For most street‑legal projects, ABS plastic offers a sweet spot between cost and durability. Carbon fiber is worth the premium only if you need the weight savings for track use.
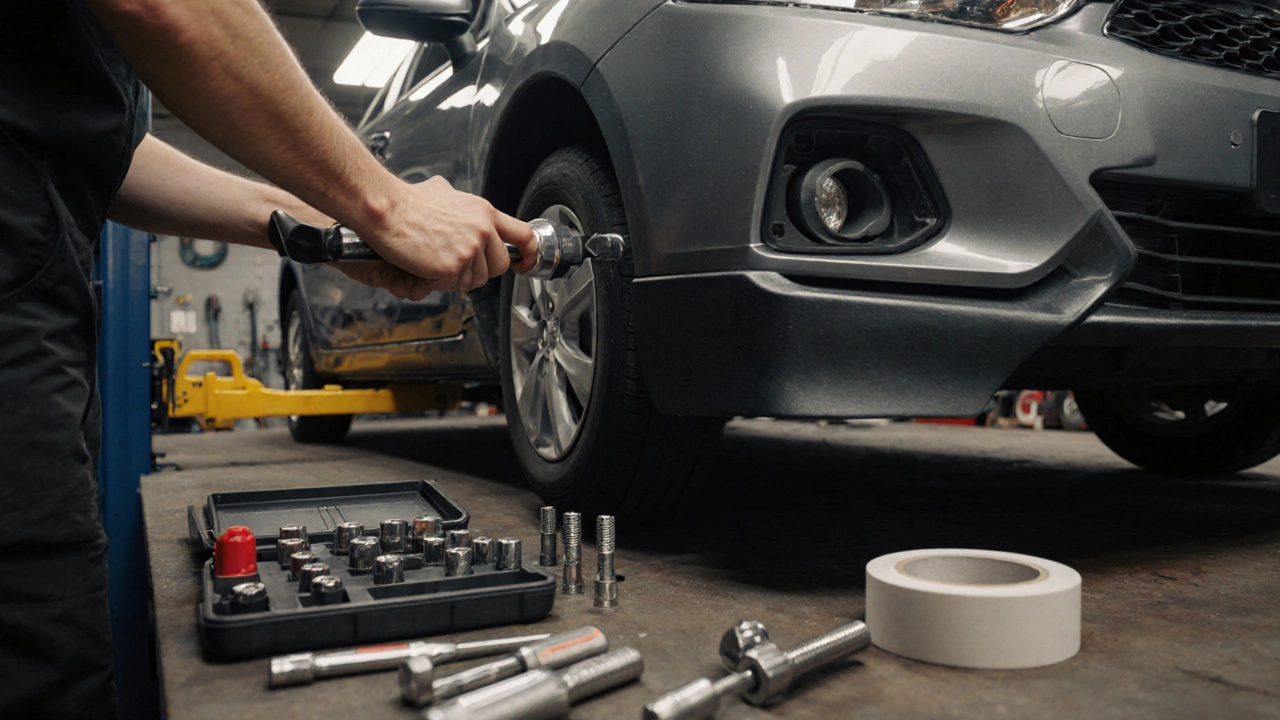
Installation Basics
Here’s a typical step‑by‑step for a bolt‑on front bumper kit. Adjust the list if you’re swapping a rear diffuser or a side skirt.
- Gather tools: torque wrench, socket set, screwdrivers, masking tape, and a clean work surface.
- Remove the factory bumper: unscrew the bolts, detach any wiring harnesses, and carefully set the old part aside.
- For vehicles with sensors (parking aid, rain sensors), label each connector before unplugging.
- Prep the mounting points: clean the surface, inspect for rust, and apply a thin layer of automotive primer if you’ve sanded any metal.
- Fit the new bumper: line up the pre‑drilled holes, loosely insert the bolts, and double‑check alignment.
- Tighten to spec: use the torque wrench to achieve the manufacturer’s torque rating (usually 20‑25 Nm for bumper fasteners).
- Reconnect electronics: plug any sensors back in, test the lights and camera feed before final tightening.
- Final inspection: check gaps, ensure the bumper sits evenly, and give the entire area a quick wipe‑down.
If your plan involves cutting or welding (e.g., widening arches), you’ll need a licensed metal‑working shop. The work must be documented with a compliance plate and a signed statement that it meets the relevant ADR.
Maintaining Your Modified Body
After you’ve spent time and cash on a new look, keep it looking fresh:
- Wash with pH‑neutral shampoo to avoid damaging clear coats on carbon fiber or fiberglass.
- Apply a UV‑protective wax every 2-3 months, especially for painted ABS parts.
- Inspect mounting bolts quarterly. Vibration can loosen them over time.
- Check for water ingress around any cut edges. Seal with automotive silicone if you notice leaks.
Regular maintenance not only preserves aesthetics but also helps you stay compliant during roadside inspections.
Quick Build Checklist
- Define purpose (style, performance, repair).
- Set budget and list required parts.
- Confirm ADR compliance for each component.
- Choose DIY or professional installer based on complexity.
- Gather tools and create a safe work environment.
- Document installation with photos and receipts.
- Update registration if dimensions change.
- Schedule a road‑worthy inspection within 30 days.
Frequently Asked Questions
Do I need a licence to install a body kit myself?
A licence isn’t required for bolt‑on parts, but any work that involves cutting, welding, or changing the vehicle’s structural dimensions must be performed by a licensed automotive metal‑fab shop. The shop will provide a compliance plate that the DIT can verify.
Will my insurance premium go up after a body‑kit install?
Most insurers treat aftermarket modifications as a change in risk. Expect a modest increase (often 5‑10%), but notifying them avoids claim denial. Provide copies of invoices and the ADR compliance sheet.
Can I install a wider front splitter without re‑registering?
If the splitter extends the vehicle’s width beyond the factory spec by more than 25mm, you must update the registration and display a compliance plate. Minor visual extensions under that limit are usually allowed without a new registration, but always check the latest ADR numbers.
Is it legal to change the colour of a carbon‑fiber wing?
Yes, provided the paint or wrap does not obscure the part’s safety markings (e.g., reflective strips) and the colour change is recorded on the vehicle’s registration details. Keep the original colour sample or a photo for reference.
How long does a road‑worthy inspection take after a body‑kit install?
Typically 30-45 minutes if all paperwork is in order and the vehicle passes visual checks. Complex structural changes can add extra time for detailed measurements.