Ride Height Drop Calculator
Estimated Ride Height Drop
Calculate how much your vehicle's ride height will drop when installing lowering springs.
Enter your vehicle details to see estimated drop
Note: Actual results may vary by 5-10mm based on vehicle weight, spring quality, and installation precision.
Important: Always have alignment checked after installation to correct camber and toe changes.
Ever wondered if simply swapping out your stock springs for a set of lowering springs will give your car that aggressive stance? You’re not alone. Many car fans think it’s the easiest, cheapest route to a lower ride height, but the truth is a bit more nuanced. This article breaks down exactly how much you can expect to drop, what extra tweaks might be required, and how to do it safely without turning your daily driver into a bouncing mess.
Quick Takeaways
- Lowering springs typically lower a vehicle by 20‑35mm (0.8‑1.4 inches) depending on spring rate and stock height.
- Only using springs can affect camber, bump steer and ride comfort; additional alignment work is often needed.
- Installation is straightforward but double‑check spring perches and shock compatibility.
- For drops larger than 35mm, consider coilovers or adjustable control arms.
- Always re‑measure ride height and test drive before finalizing the build.
How Lowering Springs Work
Lowering springs are coiled steel components engineered with a higher spring rate than stock springs, causing the suspension to sit lower under the same load. By increasing stiffness, the spring compresses more at rest, pulling the chassis closer to the ground. The basic physics is simple: force = spring rate × displacement. When the rate goes up, the same vehicle weight forces the spring to compress further, shaving off a few centimeters of height.
Other related suspension parts play a role in the overall outcome. Coil springs are the generic term for any helical spring used in a car’s suspension form the backbone, while shock absorbers dampen the oscillations generated by spring movement control how quickly the car settles after a bump. Spring perches are the mounting brackets that hold the spring in place must be compatible with the new spring’s length and seat location.
Typical Ride‑Height Drop You Can Expect
In practice, most manufacturers design stock springs to give a ride height that balances comfort and handling. When you replace them with lowering springs:
- Front drop: 20‑30mm (0.8‑1.2 inches) on compact sedans, up to 35mm (1.4 inches) on sports coupes.
- Rear drop: 15‑25mm (0.6‑1.0 inches) for most rear‑wheel‑drive platforms; rear‑biased setups may see a bit more.
These numbers come from real‑world tests on a 2022 Subaru WRX (front 28mm, rear 22mm) and a 2023 Mazda MX‑5 (front 30mm, rear 30mm) using a popular aftermarket spring set. Your exact result will vary based on stock spring length, vehicle weight, and the specific spring rate you choose.
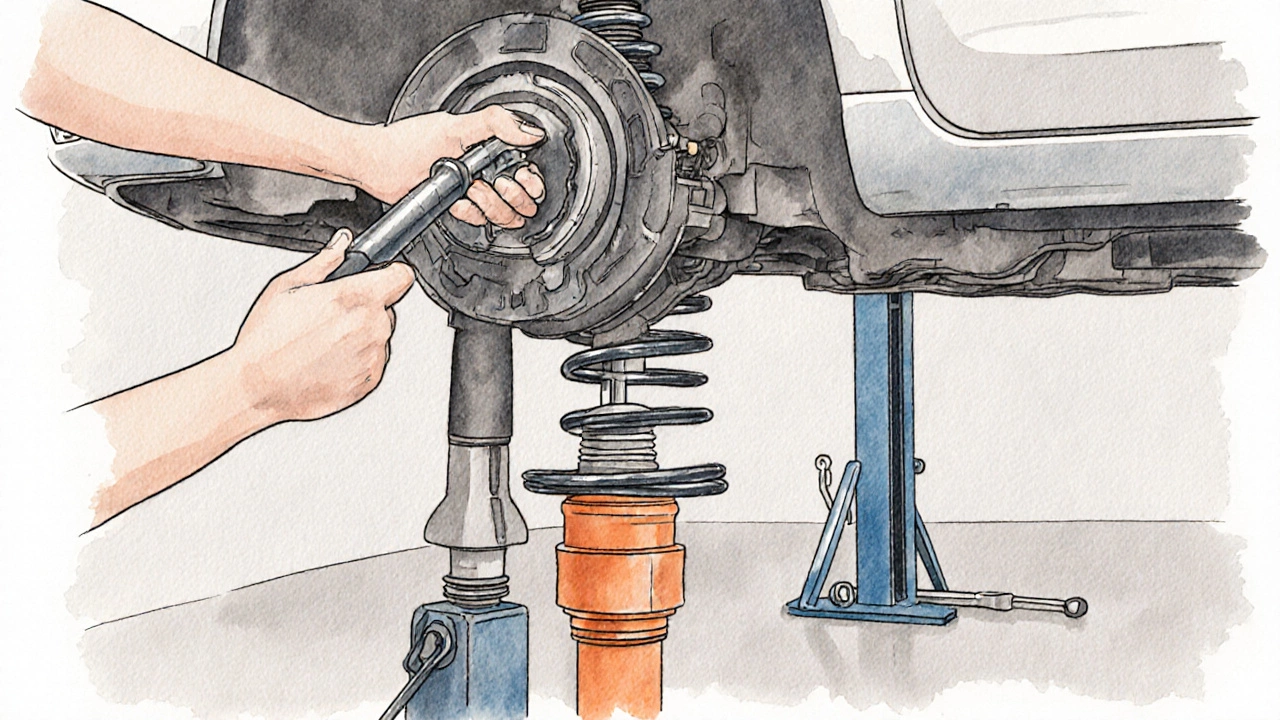
Step‑by‑Step Installation Guide
- Gather tools: jack, jack stands, socket set, spring compressors (if needed), and a torque wrench.
- Lift the vehicle and safely support it on jack stands. Remove the wheels to access the suspension.
- Locate the spring perches. If they are welded to the chassis, you’ll need a compatible aftermarket perch that matches the lowering spring’s length.
- Compress the stock coil spring using a spring compressor, then carefully remove the shock absorber and the spring from the perch.
- Mount the new lowering spring onto the perch, ensuring the spring sits evenly on both seats. Re‑install the shock absorber, making sure its mounting points line up with the factory‑specified torque values.
- Repeat the process on the opposite wheel, then move to the rear axle and follow the same steps.
- Re‑mount all wheels, lower the car, and torque all lug nuts to the manufacturer’s specification.
- Take a tape measure and record the new ride height at each corner. If the drop exceeds your target, consider swapping to a slightly stiffer spring set or adding adjustable components.
When you finish, a quick shake test (push the car’s front or rear) should feel tighter, not floppy. If you notice excessive creaking, double‑check that the spring sits correctly on the perches and that the shocks are fully seated.
Pros & Cons of Using Only Lowering Springs
| Aspect | Lowering Springs Only | Adjustable Coilovers |
|---|---|---|
| Cost | Generally $150‑$300 per axle | $600‑$1200 per axle |
| Installation Difficulty | Basic DIY with common tools | Requires more patience, torque settings, and sometimes special tools |
| Adjustability | Fixed drop; changes require new springs | Height and damping are adjustable on the fly |
| Ride Comfort | Stiffer than stock, but still comfortable for daily driving | Can be tuned for comfort or track use |
| Alignment Impact | Changes camber and toe; alignment shop needed | Often includes built‑in camber adjustment |
In short, if you’re after a modest drop and want to keep costs low, lowering springs are a solid choice. If you need fine‑tuning, ride‑height flexibility, or plan to track the car, coilovers or adjustable control arms make more sense.

When Additional Adjustments Are Needed
Dropping a car with springs alone often introduces side‑effects:
- Camber change: Front wheels may gain negative camber, improving cornering grip but causing uneven tire wear.
- Toe shift: Lower suspension geometry can alter toe‑in/toe‑out, affecting straight‑line stability.
- Bump steer: The altered suspension arc might make the steering respond oddly to bumps.
To counter these, many enthusiasts install camber plates adjustable brackets that allow fine‑tuning of wheel camber after a ride‑height change or use adjustable control arms replace stock arms with ones that have eccentric bolts for camber and caster correction. A professional alignment after the spring swap is strongly recommended, especially if the car will be driven at highway speeds.
Common Mistakes and How to Avoid Them
- Skipping spring‑perch compatibility: Using a perch that’s too short can force the spring to sit off‑center, leading to squeaks.
- Forgetting to check shock travel: Some shocks have limited compression range; a lower ride height may cause them to bottom out.
- Neglecting alignment: Even a few degrees of unwanted camber can ruin tire life and handling.
- Installing the wrong spring rate: Too stiff a spring makes the ride harsh; too soft won’t give the desired drop.
Before you buy, verify the spring specifications (inner/outer diameter, free length, spring rate) against your vehicle’s OEM data. Most reputable brands publish a fit‑guide that tells you exactly which model fits which car.
Frequently Asked Questions
Will lowering springs affect my daily driving comfort?
Yes, they usually make the ride a bit firmer because the springs are stiffer. Most drivers notice a slight increase in chassis feedback, but the change is often acceptable for everyday use, especially on well‑maintained roads.
Can I use lowering springs on a car with air suspension?
It’s not recommended. Air systems rely on specific spring rates to maintain proper height control. Swapping in traditional lowering springs can interfere with the air bag’s ability to compensate, leading to error codes or uneven ride.
Do I need new shocks when I install lowering springs?
Not always, but it’s a good idea to inspect your stock shocks for wear. Some aftermarket springs are taller and may require longer‑stroke shocks to avoid bottoming out. If your existing shocks are aged, replacing them can improve overall handling.
How often should I get a wheel alignment after lowering?
Immediately after the spring swap, then again after the first 500‑1,000 km of driving. This lets you catch any settling that changes camber or toe.
Can I combine lowering springs with a stiffer sway bar?
Absolutely. A stiffer anti‑roll bar reduces body roll, complementing the lower center of gravity from the springs. Just be aware that too much stiffness can make the car feel nervous on uneven surfaces.