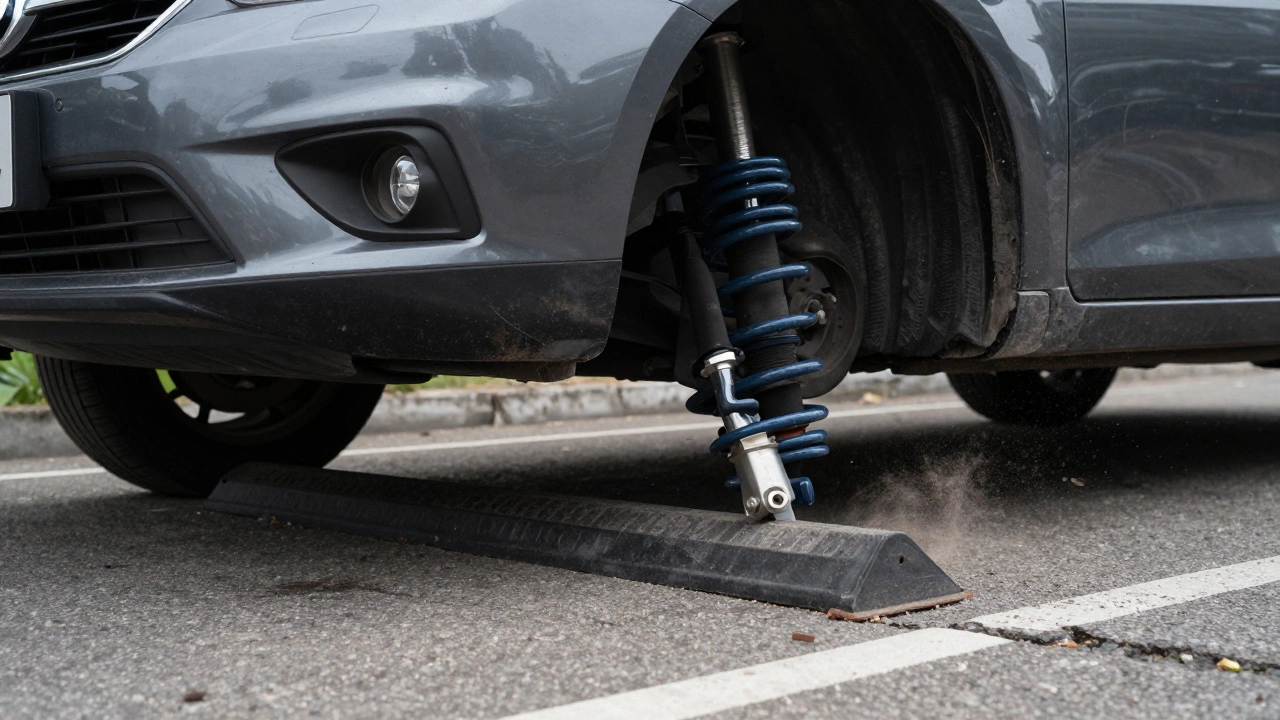
Car Lowering: How to Drop Your Ride Safely and Look Good
Want that sleek, aggressive stance without wrecking your car? Lowering your vehicle is a popular way to add style and improve handling, but it’s not a magic trick. You need the right parts, a bit of know‑how, and some patience. This guide walks you through the basics so you can lower your car confidently and avoid common headaches.
First off, why lower at all? A lower ride height reduces the car’s center of gravity, which can tighten cornering and give you a sportier feel. It also makes the wheels look bigger and the body sit tighter on the road – a visual upgrade that many enthusiasts love. Just remember, the goal isn’t to make your car look like a race car at the expense of comfort or safety.
Lowering works by shortening the distance between the suspension components and the ground. Most people use lowering springs or coilovers for this job. Lowering springs are a simple swap: you remove the stock springs and bolt in the shorter ones. Coilovers give you adjustable ride height, but they cost more and need more setup. Whichever route you choose, you’ll need to re‑check alignment and may have to tweak other parts like shocks or sway bars.
Choosing the Right Lowering Springs
Not all lowering springs are created equal. Look for a set that matches your car’s weight and intended use. If you just want a mild drop (around 10‑15mm) for style, a mild spring kit will keep ride quality fairly comfortable. Going deeper (20‑30mm) often requires stiffer springs and upgraded shocks to keep the car from feeling harsh.
Check reviews from owners of the same make and model. They’ll tell you if a spring set causes excessive body roll, premature tire wear, or a bumpy ride. Many forums also share spring rates (measured in kg/mm); higher numbers mean stiffer springs. Pairing the right spring with a compatible shock absorber is key – the wrong combo can wear out bearings fast.
Installation is usually straightforward: raise the car, remove the wheels, take out the old springs, and bolt in the new ones. Make sure you use a spring compressor if you’re working with coil springs to avoid injury. After the swap, do a quick test drive to feel for any odd noises or vibrations.
What to Watch Out for After Lowering
Once the springs are on, the next step is alignment. Lowering changes the suspension geometry, so a professional alignment is a must. Poor alignment can lead to uneven tire wear, pulling to one side, and reduced fuel efficiency. Aim for a toe setting that matches the original specs, unless you’re tweaking for a specific handling goal.
Watch your ride height when the car is fully loaded. Adding heavy luggage or extra passengers can push the car back up, negating the lowered look and affecting handling. Some owners install adjustable coilovers for this reason – you can dial the height back up when needed.
Finally, keep an eye on the brakes and suspension components. Lowering puts extra stress on the control arms, bushings, and mounting points. If you hear clunking noises after a few weeks, get the suspension checked. Replacing worn bushings early can save you from costly repairs later.
Lowering your car can be a rewarding project that adds personal flair and improves performance. By picking the right springs, getting a proper alignment, and staying on top of wear, you’ll enjoy a lower stance without sacrificing safety or comfort. Ready to drop your ride? Grab the right parts, follow the steps, and hit the road with confidence.

Will Lowering Springs Ruin Struts? The Real Impact on Your Suspension
Lowering springs can shorten strut life if not chosen carefully. Learn how to install them safely, signs of strut damage, and when to skip them entirely for better alternatives like coilovers.

Can I Just Use Lowering Springs? What You Need to Know Before Dropping Your Car
Lowering springs can make your car look cool, but they’re not a simple fix. Learn the real costs, risks, and smarter alternatives before you drop your ride.

Can I Put Lowering Springs on Stock Shocks? What You Need to Know Before You Lower Your Car
You can install lowering springs on stock shocks, but it's not safe or smart. Learn why this combo causes premature wear, harsh rides, and alignment problems-and what to do instead.

Are Lowering Springs Better Than Stock? Real-World Pros and Cons
Lowering springs give your car a sleek look and better cornering, but they can hurt ride quality, tire wear, and ground clearance. Here's when they're worth it - and when to stick with stock.

Lowering Springs Only: Can You Drop Your Car’s Ride Height?
Learn if just swapping to lowering springs can drop your car, how much height you’ll lose, pros and cons, installation steps, and when extra adjustments are needed.

Lowering Cars with Coilovers: An In-Depth Guide
Lowering a car with coilovers is an incredibly popular modification among car enthusiasts. Coilovers allow for precise adjustments, giving drivers flexibility in achieving the perfect ride height and improving handling. This guide will explore how coilovers can lower a car, the benefits they offer, and some considerations for those looking to make the upgrade. Whether you're after aesthetics or performance, coilovers provide a versatile solution.